 February 22, 2018
|
#6
|
|
Tomatovillian
Join Date: Jan 2018
Location: Philly 7A
Posts: 739
|
 Raised bed #5 part 2
Raised bed #5 part 2
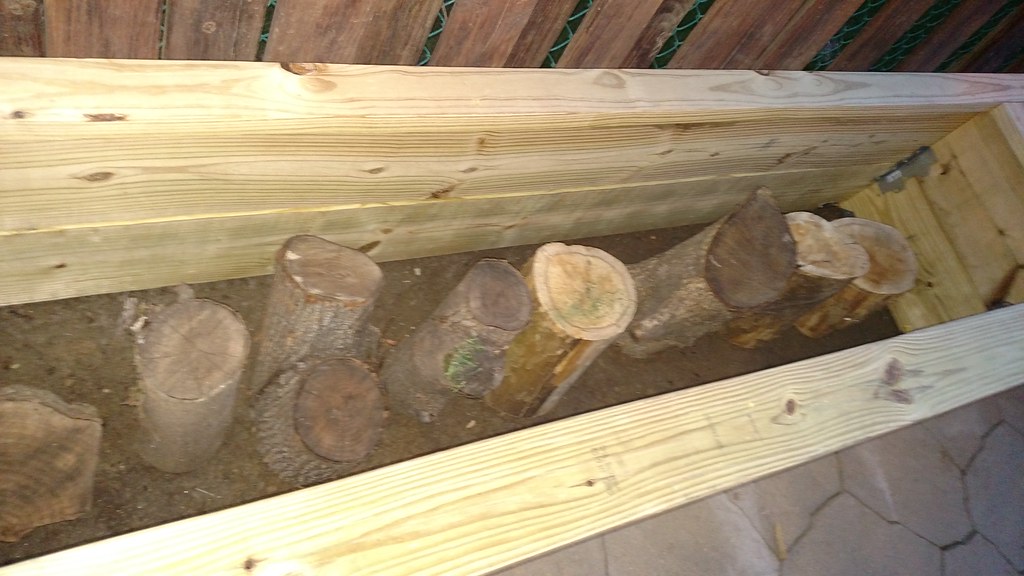
- I started filling with wood but its getting dark and I haven't eaten yet.

- Maybe I should go eat something, these are going to my head!

April 22nd, 2016 - Before work, I saturated all the wood in the bed.
After work I picked up a few more supplies, added some supports in the back, I wanted to get the back supports in before adding the wood because I can't secure the supports from the back, they need to be secured from the inside. Then I soaked the wood again.
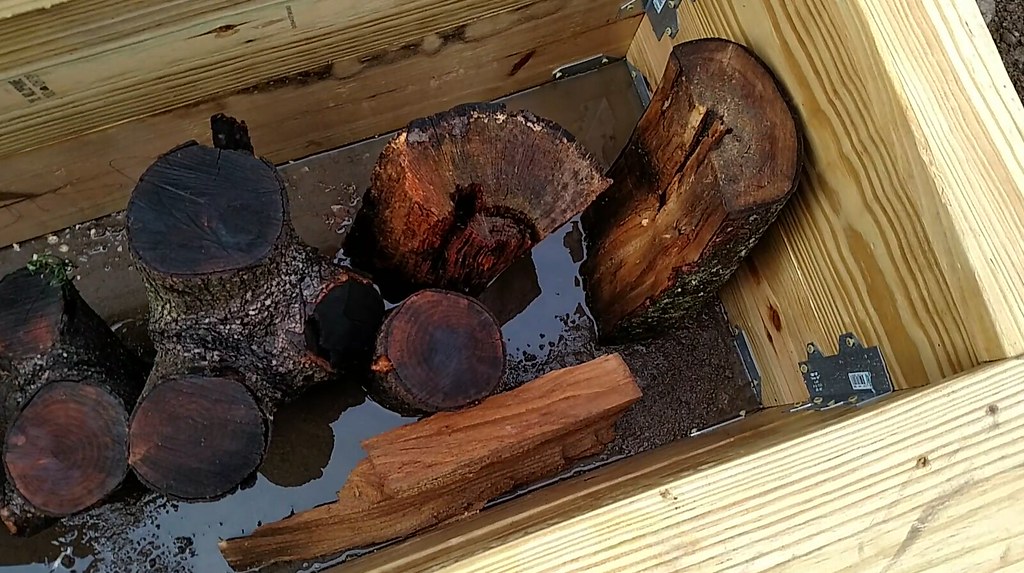
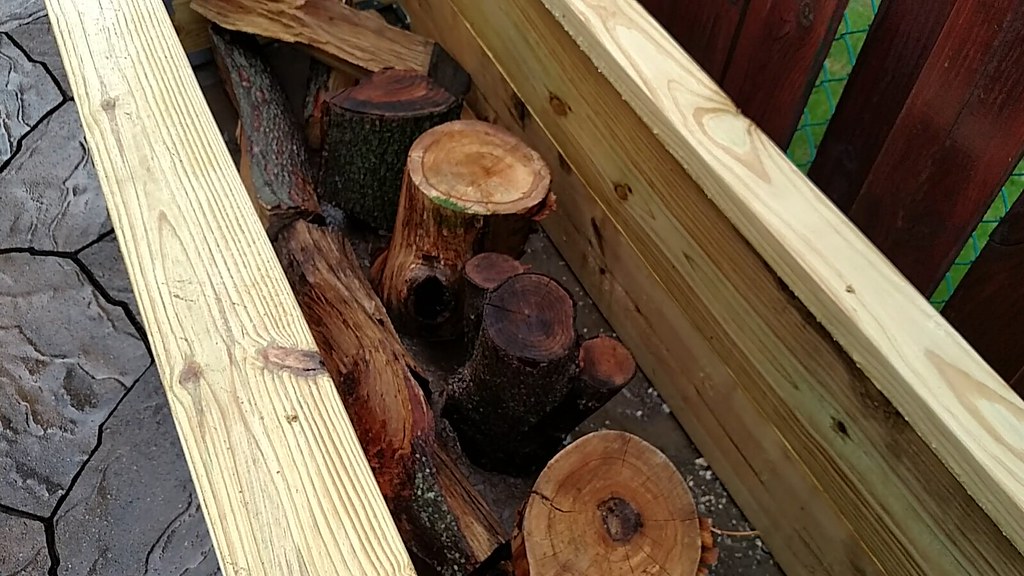
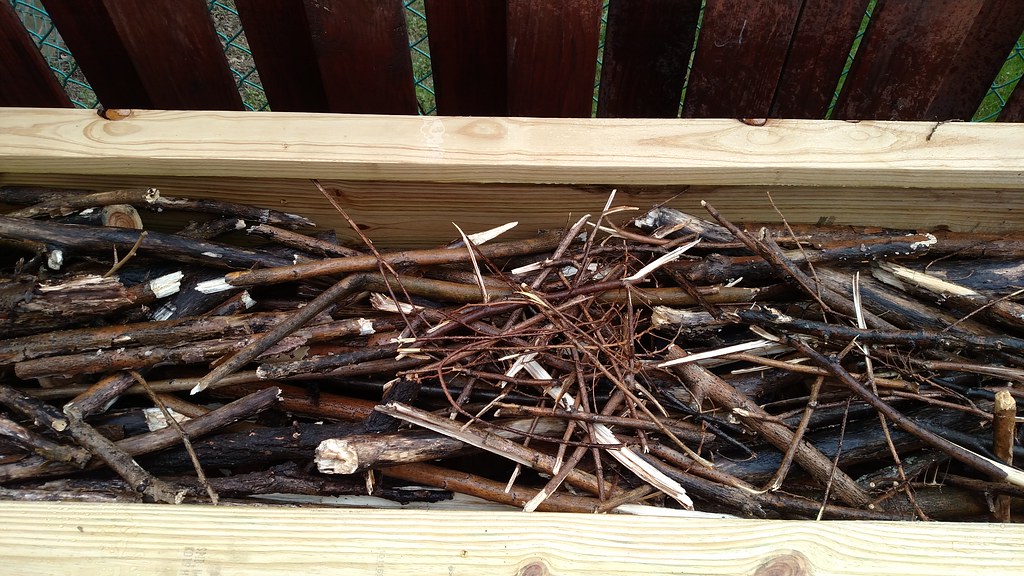
- Started the tedious task of filling with the wood I got from work.
- Added about 10 (5 gallon) buckets of soil from the back hill.
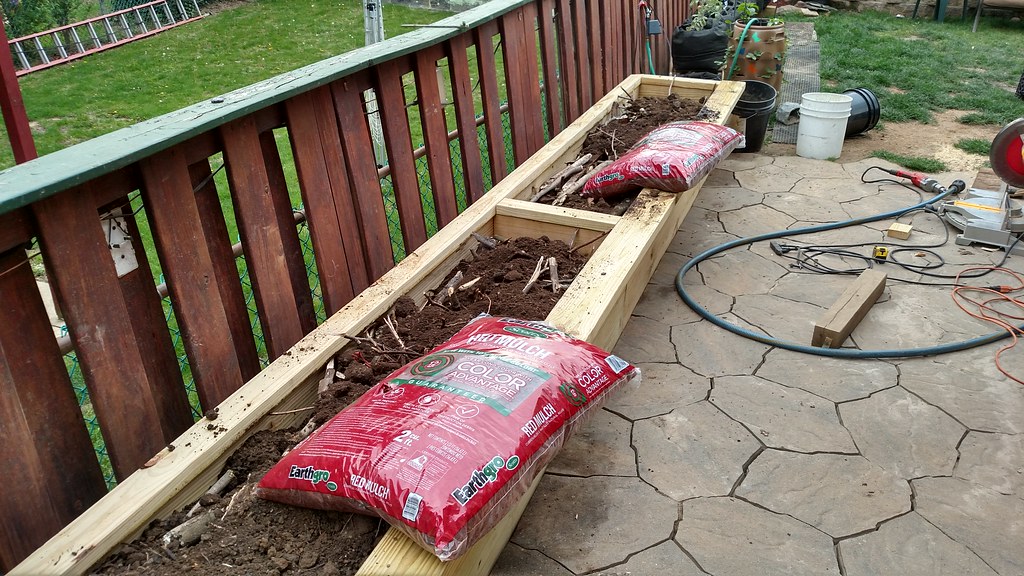
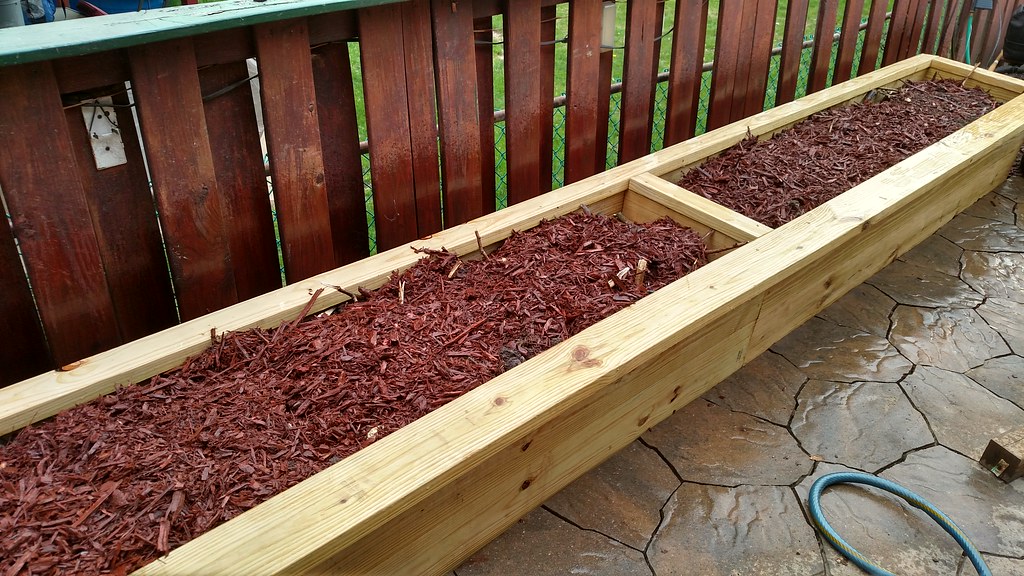
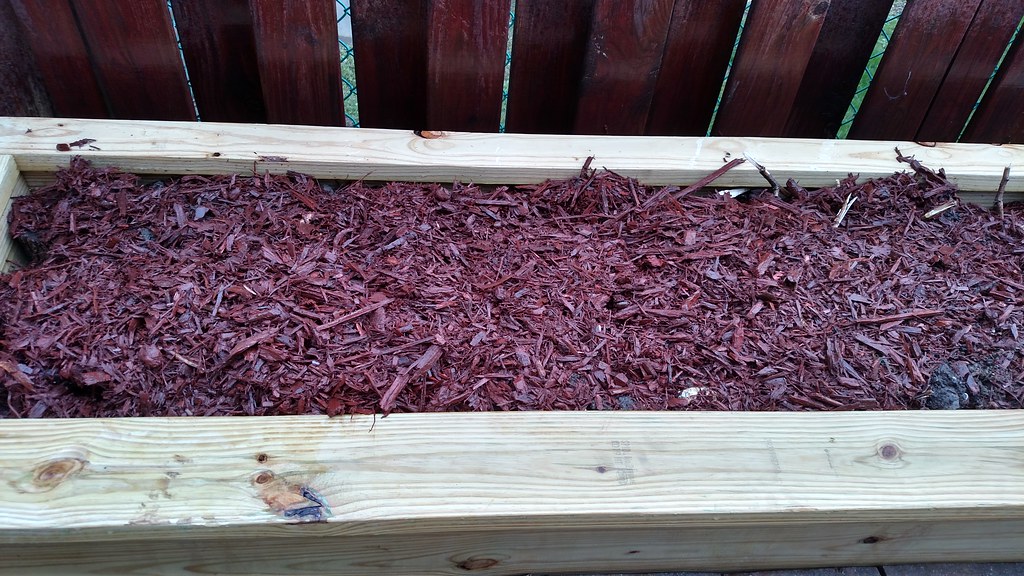
- 2 bags of shredded mulch are added, figured this would help keep everything intact to help planting this year, I'm sure this is going to settle quite a bit and I'll keep top dressing with mulch.
- The shredded hardwood mulch and soil are saturated.
- Composted Manure is added
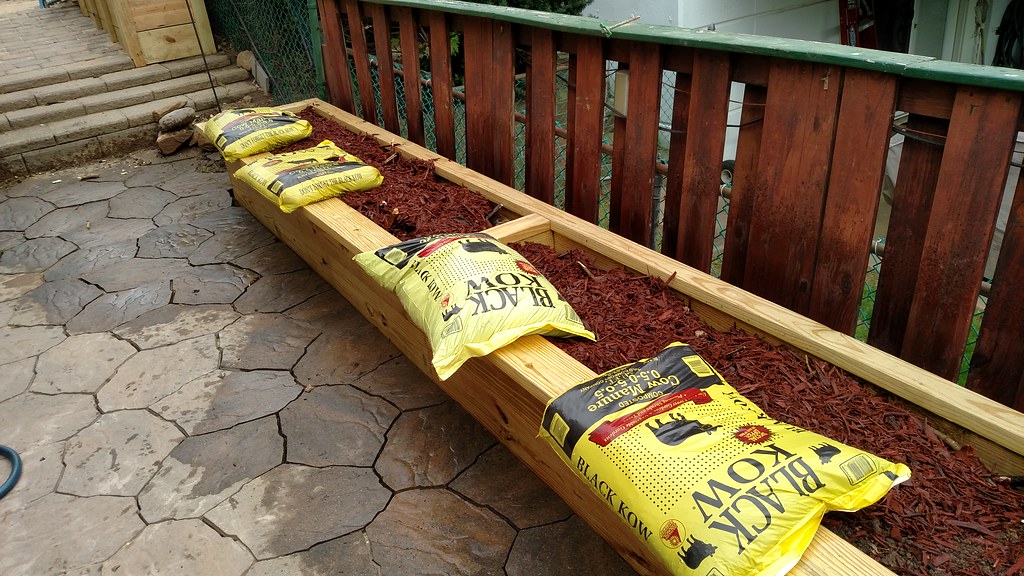
- The composted manure is saturated.
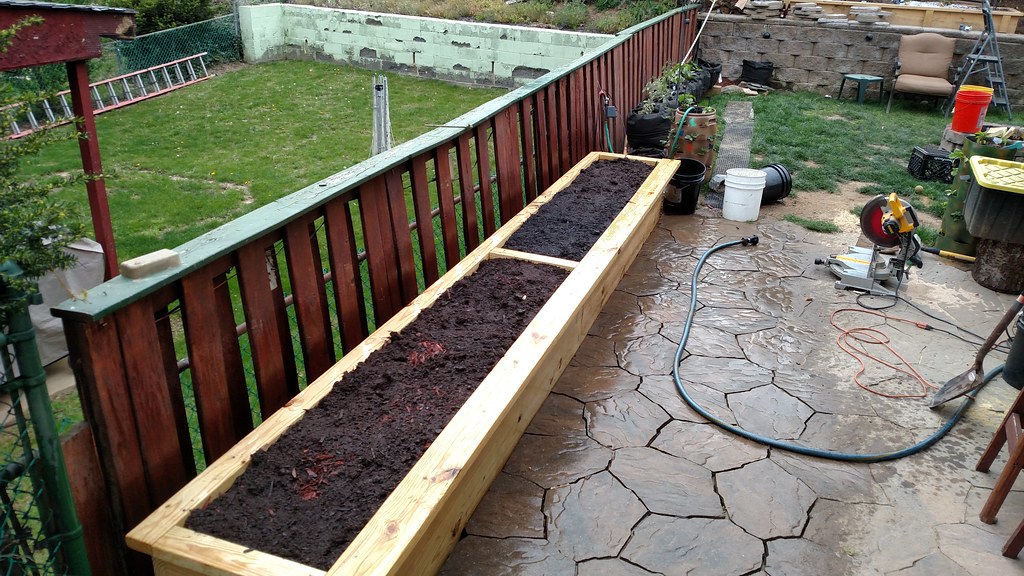
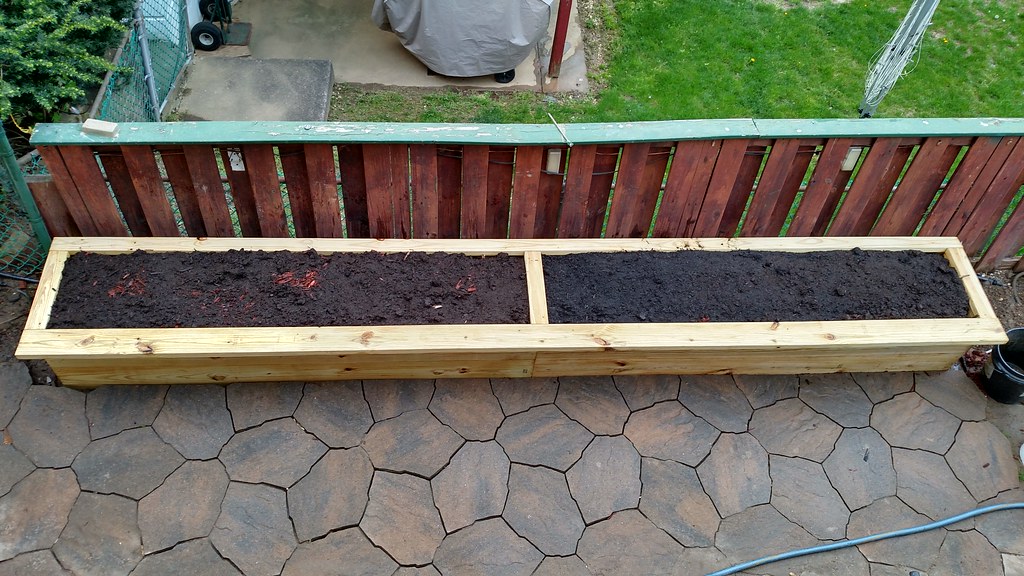
- Three bags of top soil are added and saturated.
April 23rd - Then I installed the plants that were removed from the DWC system. Removed the pavers again and added some paver base to level the pavers a bit better.
April 23rd - Installed the uprights, these aren't only for aesthetics but also for structure, and it pulls the boards flush. Then the drip line is installed, then tossed some paver sand down and worked the sand between the bed and pavers.
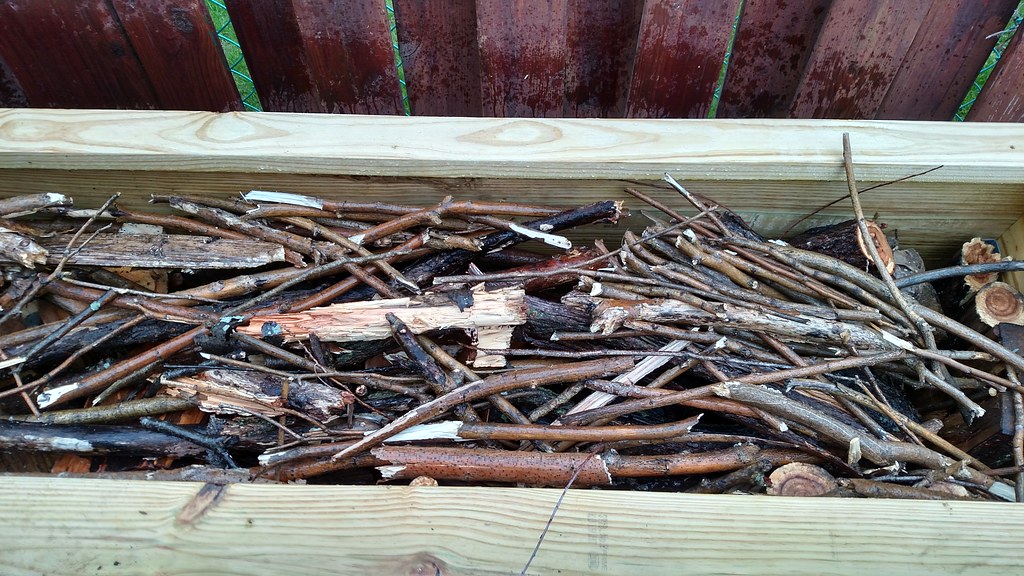
- Cut the rest of my firewood and saved some of the bark for mulch and used to help secure the drip line.
- Once the bed is seated well, I'm going to pull the fence in and secure it to the bed in an effort to get rid of that lean.
- LED ROPE Lights are installed and will run on a timer, the LED's are just taped in place for now and will be added permanently after the beds are stained.
May 1st, 2016 I installed the new LED'S last night on the other Hugelkultur bed and I am extremely impressed, I am so impressed that I ordered twenty more bulbs and 6 more Railing lights for this Hugelkultur bed. @ 0.48 watts, you can't beat it, these will replace my 7 watt deck lights and 21 watt front yard landscape lights.
May 15th, 2016 I installed 6 more Railing lights for this Hugelkultur bed. The LED ROPE Lights are removed
September 17th, 2016 - After an excellent growing season, the plants are removed and the beds are stained.
- My supervisor on the job.
|

|

|