|
Tomatovillian
Join Date: Jan 2018
Location: Philly 7A
Posts: 739
|
 Raised Bed #5 part 1
Raised Bed #5
Did he say "5", Yes! I said "5"
Hugelkultur Bed
April 19th, 2016 - I must be freaking nuts... I'm sitting in the yard playing with the dogs looking around thinking, "this is great, the bulk of the gardening is done, now I can relax", I'm sitting on the grass tossing the ball up by the Hugelkultur bed past the Hydroponic system, the dogs a Shepherd (Maggie) and ★★★★zu (Millie) are happily retrieving the ball each time.
A couple tosses and the ball lands behind the Hydro Buckets, as Maggie is trying to dig out the ball I'm thinking, hope she don't tear up the plants or the air lines... a couple more tosses, then I start eyeing up my Hydro setup and then the Hugelkultur bed, then the Hydro, then the Hugel and thought, Wow that Hugeklkultur bed looks really nice. I especially like the clean look of the pavers up to the side of the bed, and the irrigation setup is working out so well.
I just like the aesthetics more of the Hugel bed. Anyhow as I'm processing all of this, I started comparing the setup of the Hydro and the Planting of the Hugel bed, thinking how nice it was planting in the Hugelkultur bed compared to the Hydro System. I know what my subconscious mind was doing, it already knew what the outcome was gonna be, it just had to convince my conscious mind.
I called the wife out and said, "what do you think about another raised bed instead of the Hydro system", she looked at me like I had two heads and said, "What will you do with the Hydro setup", I said, "I'll give it away"! "Really", she replied. "But you just built the hydro setup and love it". I said, "but look how nice the Hugelkultur bed looks"... every time I say Hugelkultur I expect someone to say, "gesundheit".
So the conversation continues with stuff like, "I'll make the bed at bench height and make a top piece wide enough for a sort of bench, it is right across from the bar". "It will also tidy up the pavers a bit", "It will look neater than the buckets in the winter", she says, "yeah I do like the pavers you just did". I have such a mish-mosh of pavers, but that story is for another time. I then told her, "Plus I can get rid of the rest of the trees that I cut down", she liked that idea. I do have wood all over the yard.
"And the irrigation line is already there, I only need to install 2 barbs and that's it", she of course had no clue what I was referring to.
Her last statement was the kicker, "well it would be easier on you with your back and stuff, we are getting older, chuckles all around.
"OK, I'm doing it this weekend", her reply, "Your nuts"! We both smile and my mind starts racing!
Now the hydro setup is pretty easy but there are more things to consider and a much larger margin of error when using this setup, there's a lot more worries like Nutrient Level, getting the plant roots just right so they don't dry up or drown, water temperature, air pump or water pump cutting out, electricity going out, squirrel chewing through any of the air hoses or electric.
And then there's end of season cleanup, water pump is removed and stored indoors, air stones are removed, air hoses and air pump are removed and store indoors, hydroton and growstones are cleaned and stored, net-cup lids are cleaned and stored, buckets are flipped so they don't catch water and the up-righted buckets aren't aesthetically pleasing. Now all this sounds like a lot of work but it really isn't that bad, it's just me trying to convince myself to go with the Hugelkultur bed.
Now none of the aforementioned has happened, other than cleanup, but I do worry about these things on a regular basis, especially when we go on vacation for a week and the more I thought about the Hugelkultur bed, I was definitely going to build it. What can I say... I love dirt!
I thought I can do this, I still have 2 weeks till mothers day (my normal planting time).
OK So here we go!
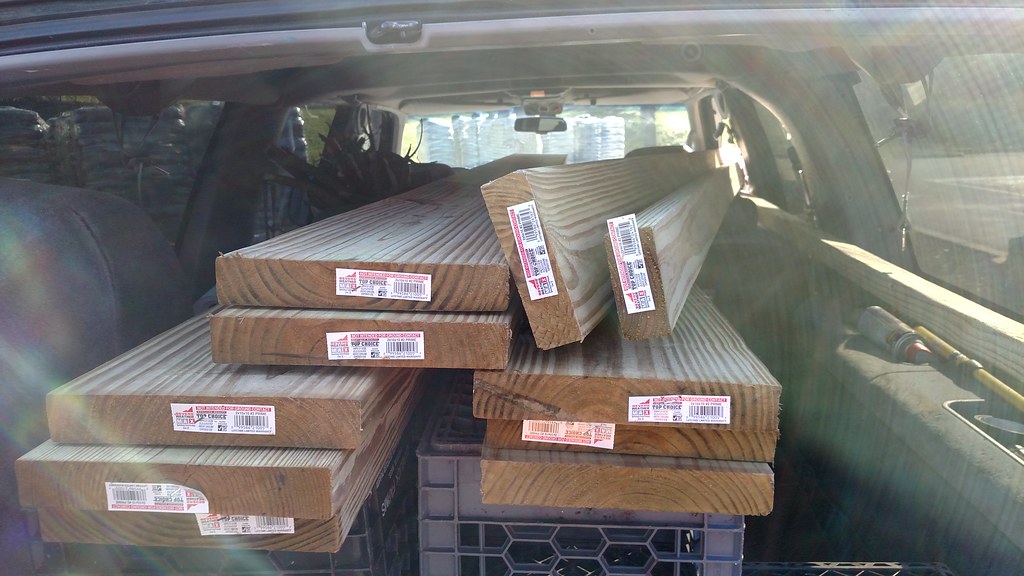
- After work, I picked up all the wood at Lowes, I was only going to get the 2"x10"x10's but got crazy and got some 16 footers too. Dam the wood was heavy, it was very wet, if you ever hauled dry vs. wet pressure treated wood, you'll know what I'm talking about.
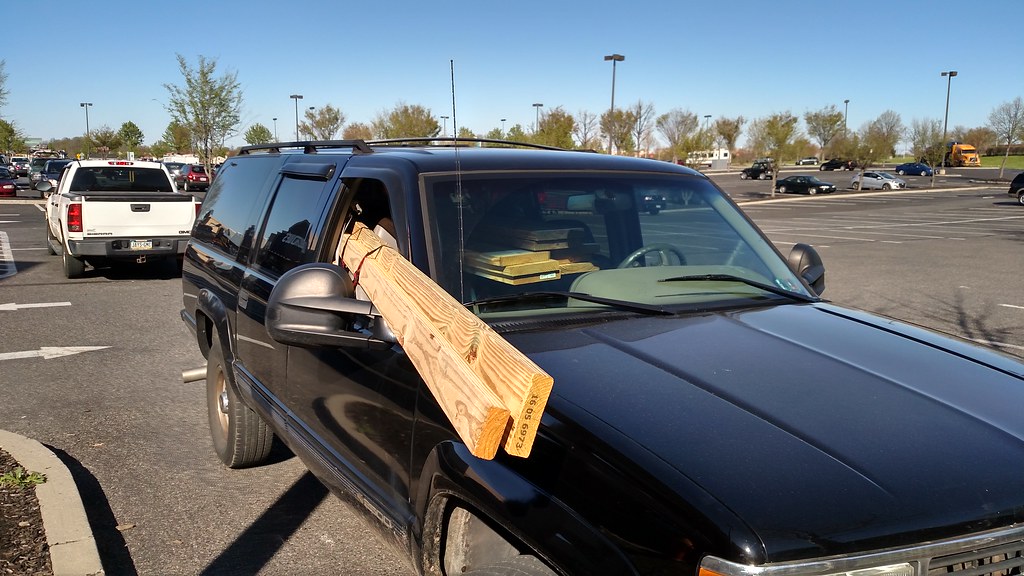
- I have Rear side open doors on my Suburban and was going to wait and take my wife's suburban, to get the 16 footers, her Suburban has a rear hatch that would have been much easier (safer) to leave the back window open and leave the wood hang out of the back. New hobby, Suburban Jousting!
- I got home safely and unloaded the wood and stood the wood upright to inspect and decide which pieces will be the front (visible) part of the bed.
- Then I broke down the Deep Water Culture setup and transplanted the plants to a tote with potting soil. Hopefully, I can save these guys.
April 19th, 2016 - This morning on the way to work I stopped at Home Depot and picked up some hardware for the beds and a new Segmented Diamond Blade for my angle grinder.
- At work, during break I went out into our parking lot and chopped up some dead wood for the Hugelkultur bed, hey... killed two birds with one stone!

April 21st, 2016 - I gotta say, "I really have good feeling about this project". I feel like a kid in the candy store! C'mon 4:30!!!
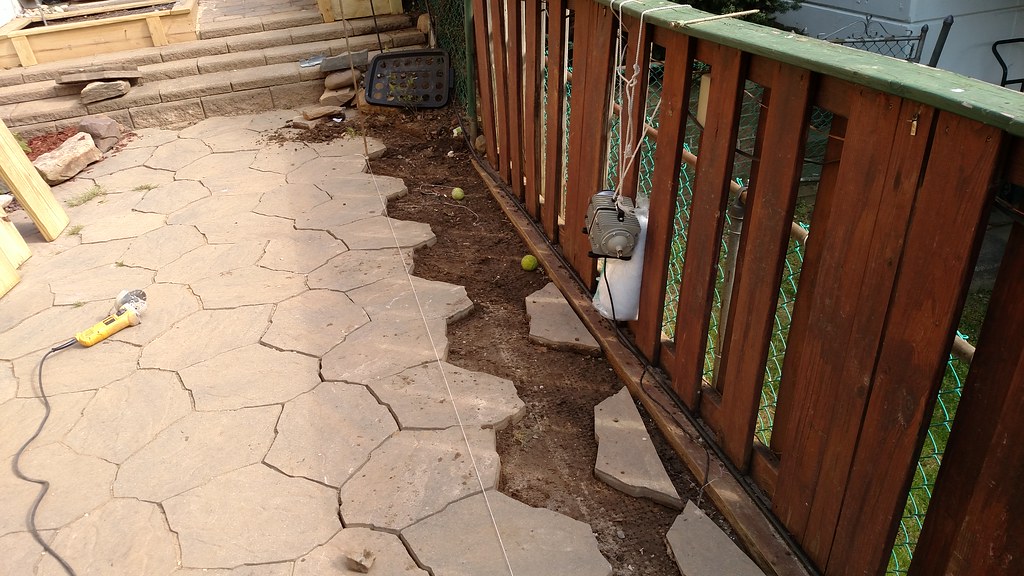
4:00... yeah, I left work early, anyway... I head straight home and into the back yard, no dinner. I start by running a line for the pavers to be cut, second time doing this, I just did this Saturday for the Hydroponics before I decided to replace it with a Hugelkultur bed.
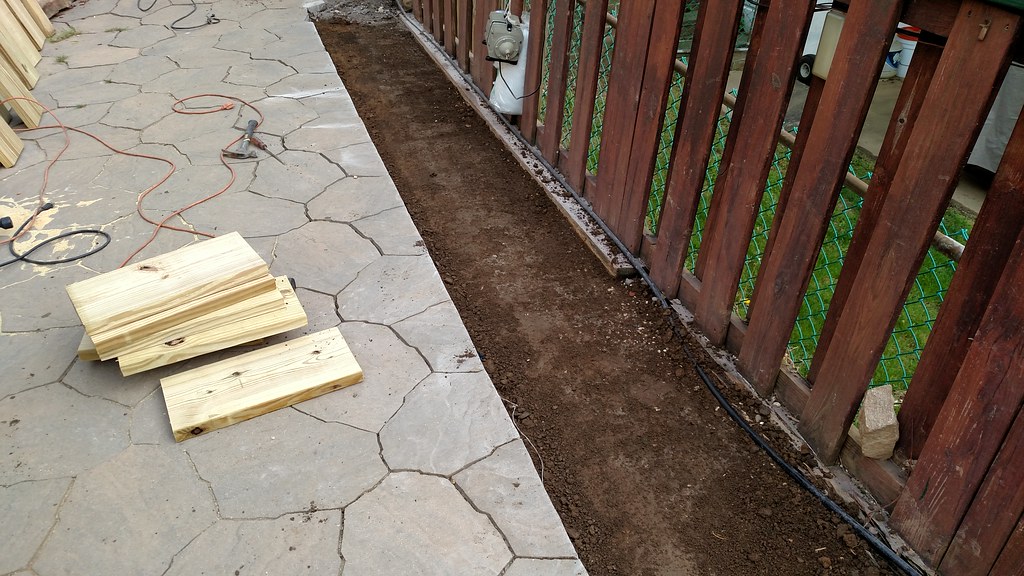
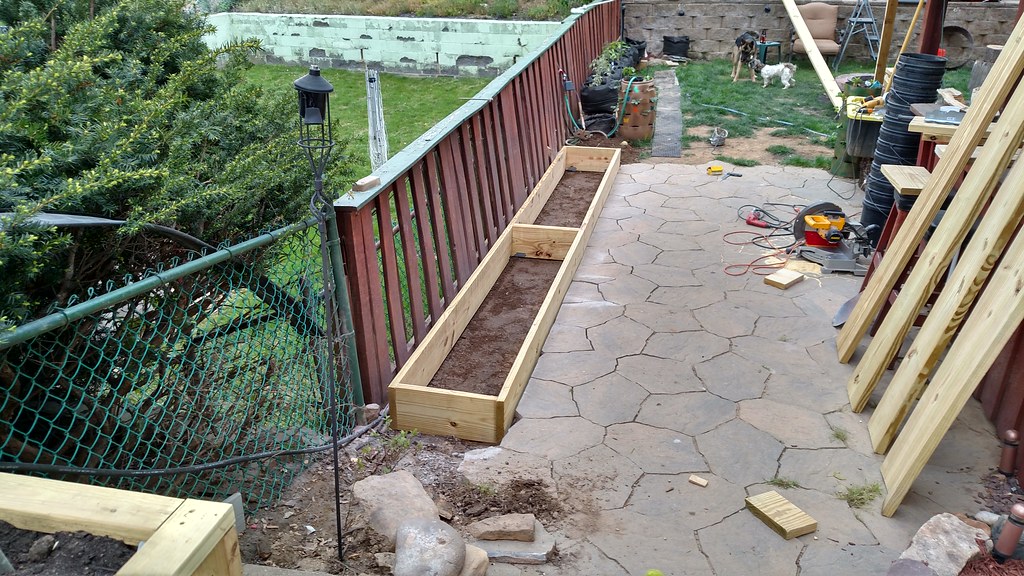
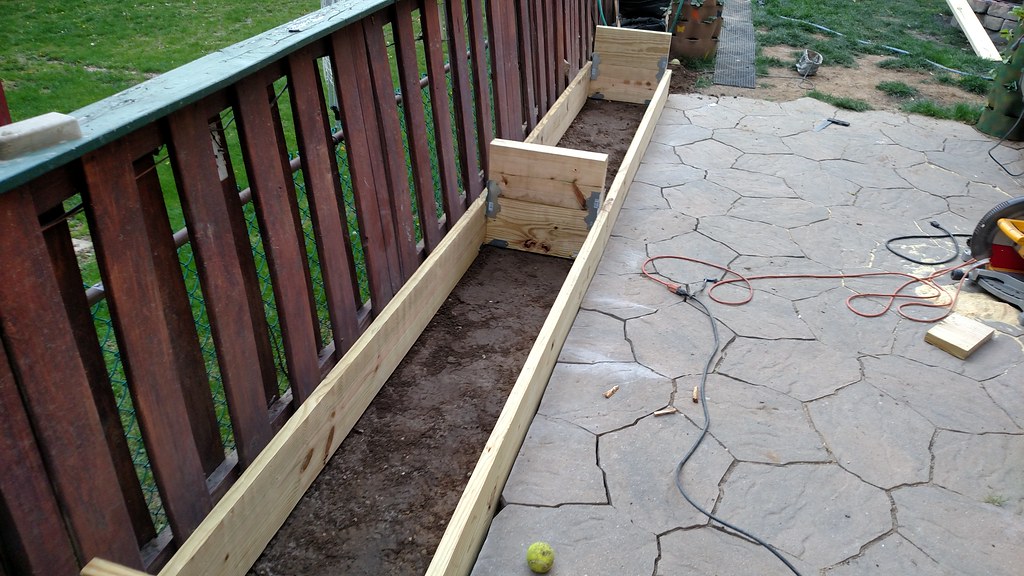
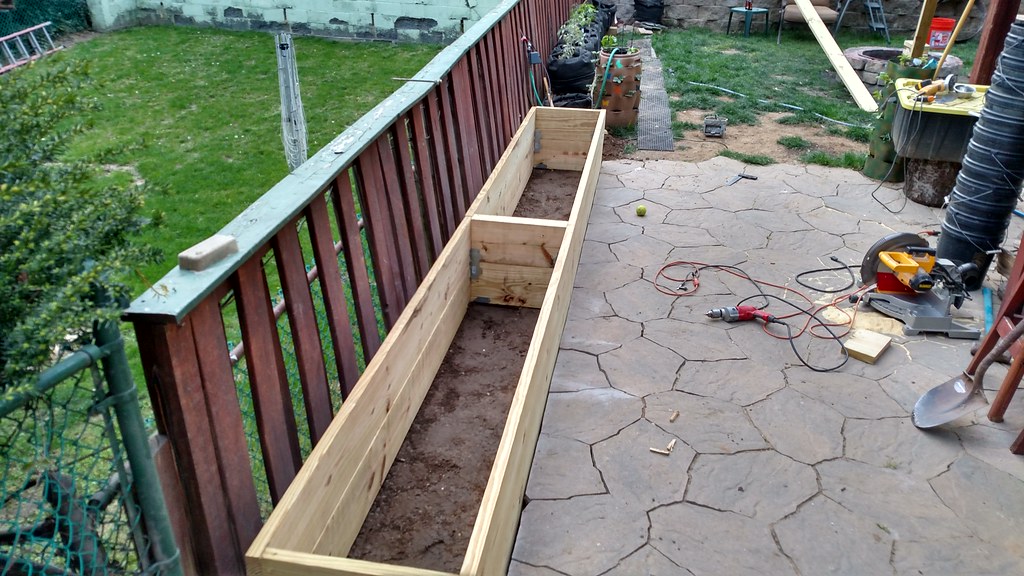
- Then the area is somewhat leveled but made very flat. Next step was to get out the chop saw and make all the cuts. Each box length is 7' 11" the reason I used this measurement was so that a 16' 2x6 would cap the top without any seam, the 16 foot 2"x6" was 1" over length (16' -1") I deducted 3" from the overall length of the 16 footer and divided by 2,to allow for a 1-1/2" over hang on each side so the 2x4 uprights would be flush on the sides.
- The bottom half of the first bed is put together, angle pieces were used, then 3" deck screws secure the other end. This will be one large bed but in 4 sections.
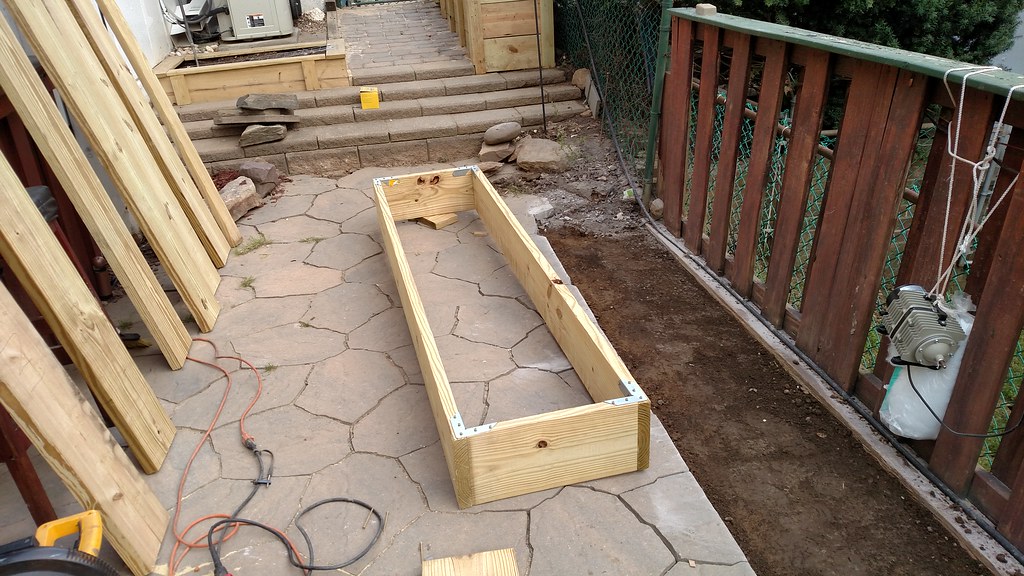
- The bottom half of bed section#1 is flipped so the corner braces are on the bottom.$HIT, that's tight, I did add over a half inch to the depth when cutting the pavers.
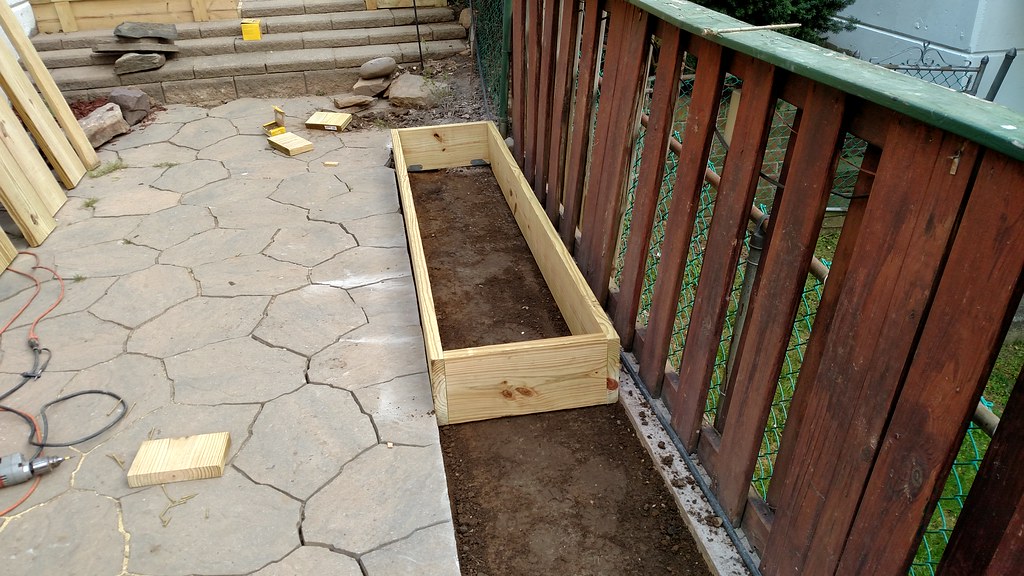
- Building the bottom half of raised bed section#2
- Same with the bottom half of box #2, flipped and put in place. Then the beds are leveled and the center pieces are secured together. The fit on box #2 is even tighter.
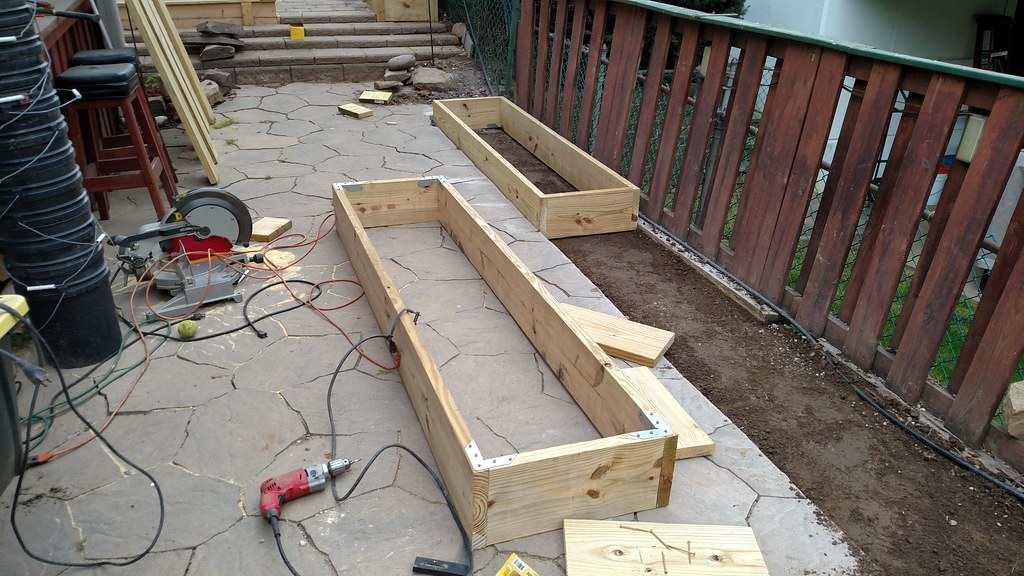
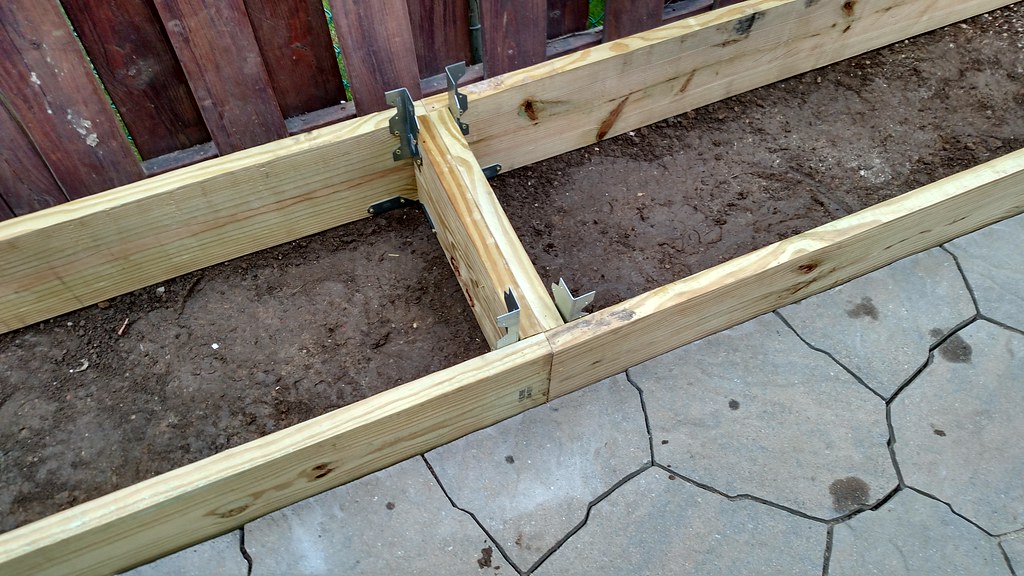
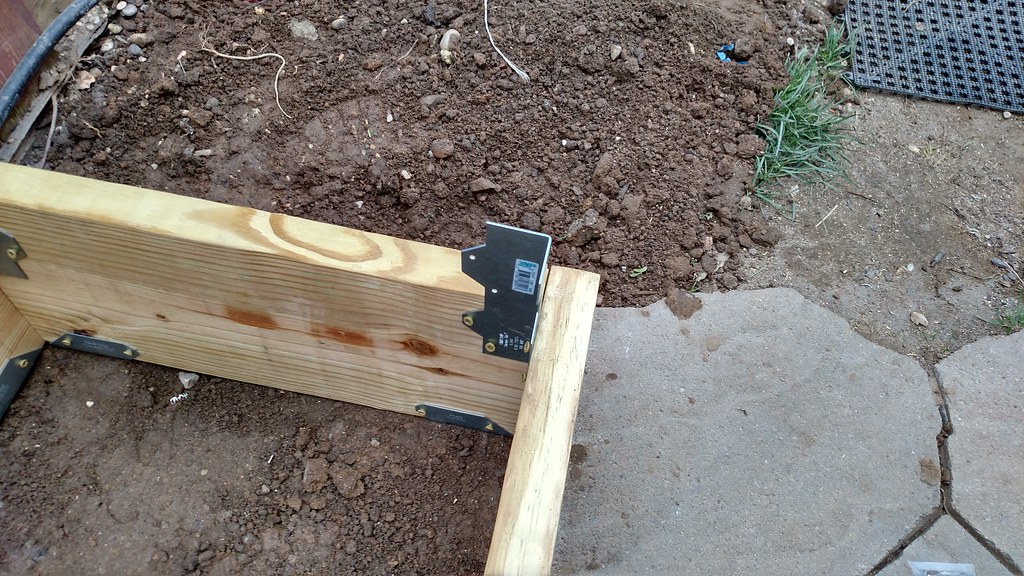
- Next up, installing the Galvanized reinforcing L angle. I strongly suggest using these especially if you are going to join more than one board together or are in a tight spot. The angles are offset so they will be screwed into both sections of the bed.
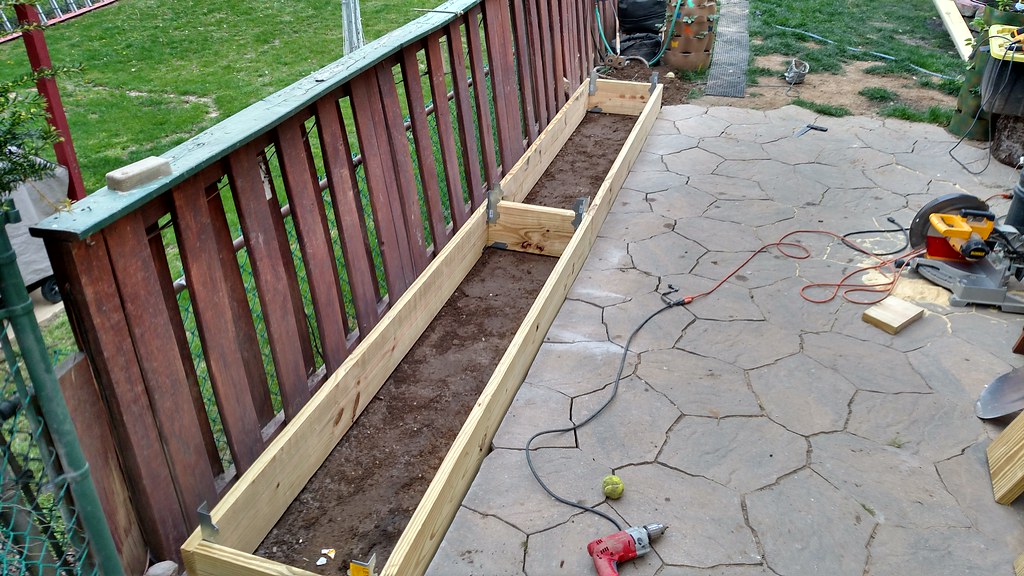
- Then the side pieces are installed.
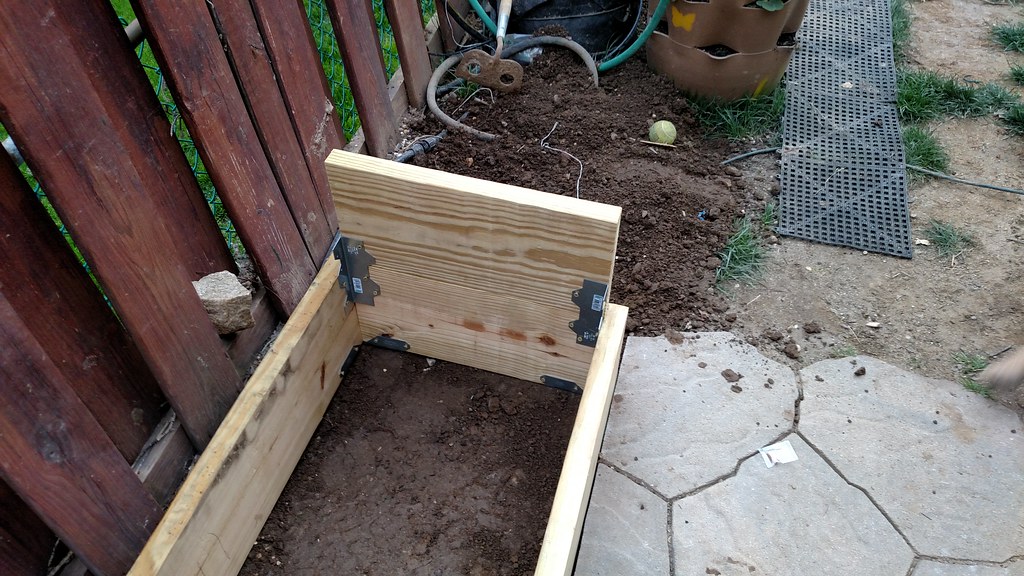
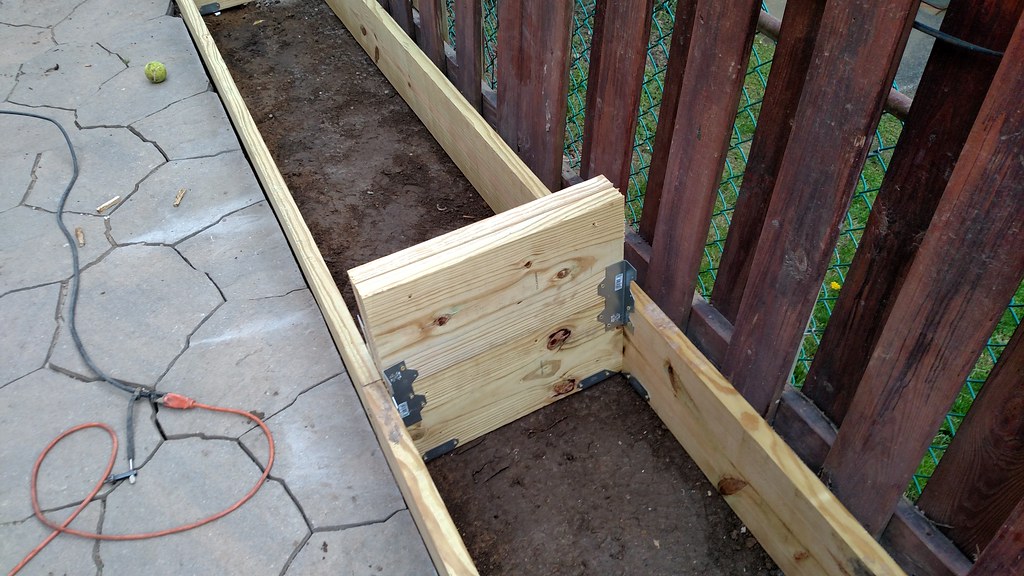
- Followed by the fronts and backs.
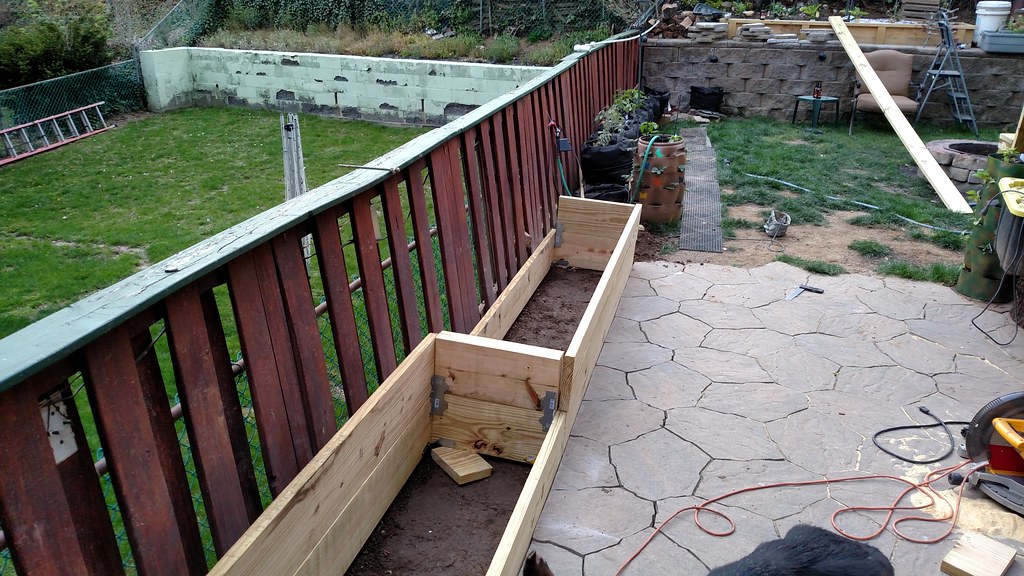
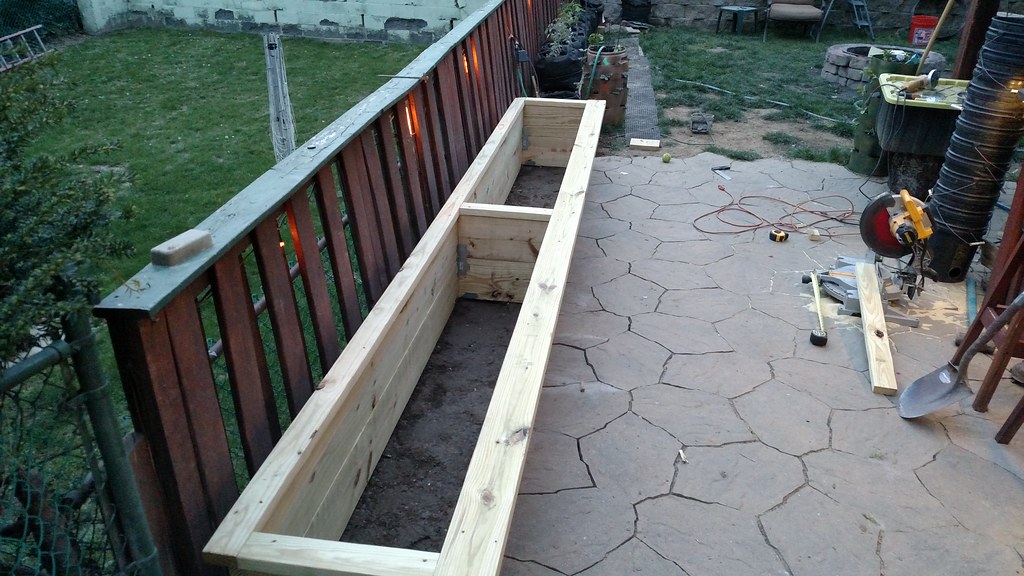
- After everything is secured, the two end pieces in the center are secured to one another with 3" deck screws.
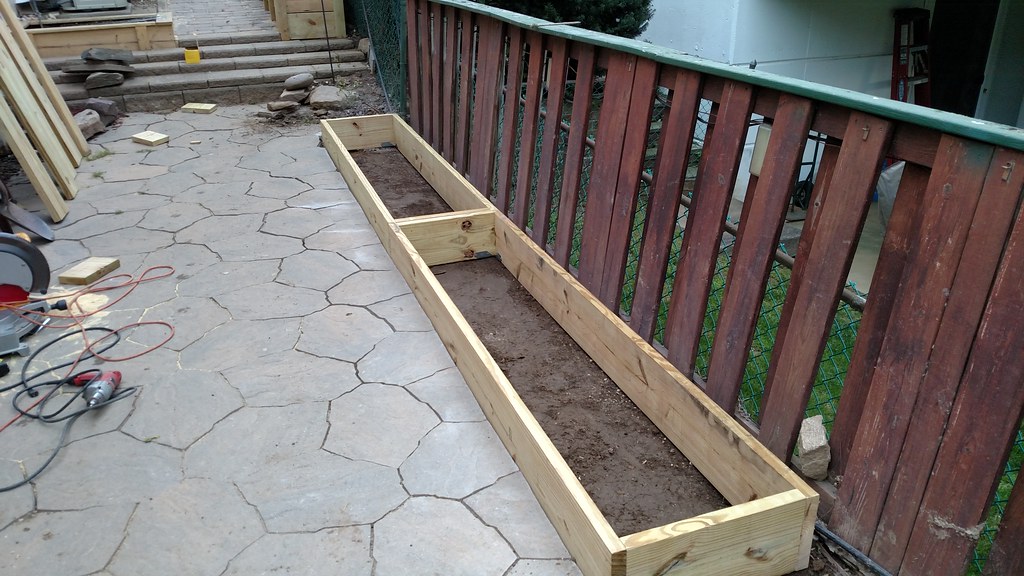
- The top is capped with 2"x4"s on the sides and back, the front is a 2" x 6" for a little bench.
|