Have a great invention to help with gardening? Are you the self-reliant type that prefers Building It Yourself vs. buying it? Share and discuss your ideas and projects with other members.
|
|
|
Thread Tools | Display Modes |
 December 19, 2018
|
#1 |
|
Tomatovillian
Join Date: Jan 2018
Location: Philly 7A
Posts: 739
|
This is my Grow Light Build journey, sorry if this was posted already, anyhow I started this in 2015 and just added a few tweaks this month.
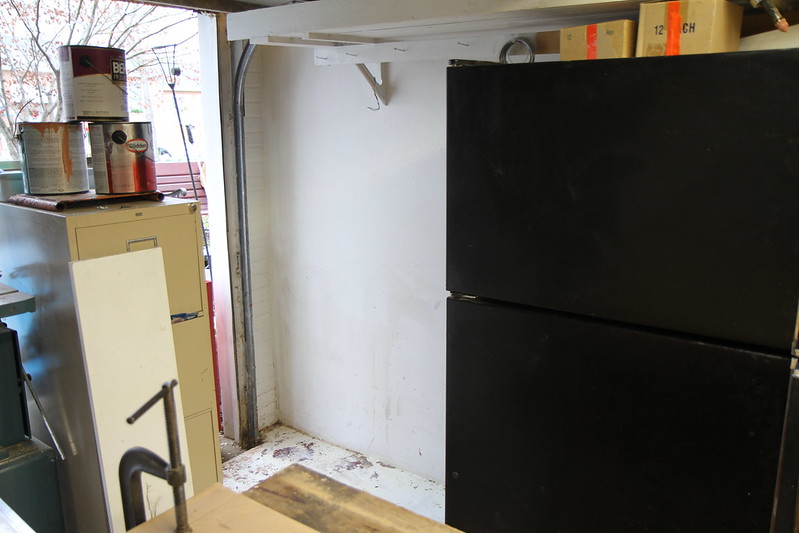
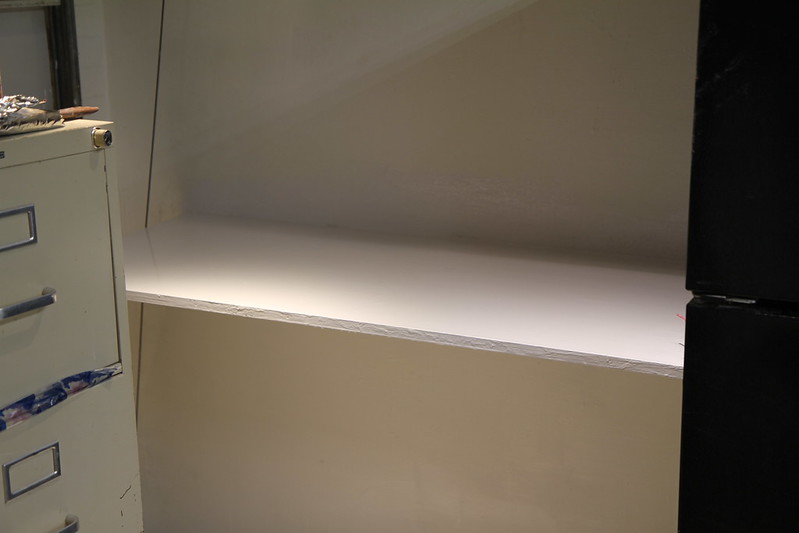
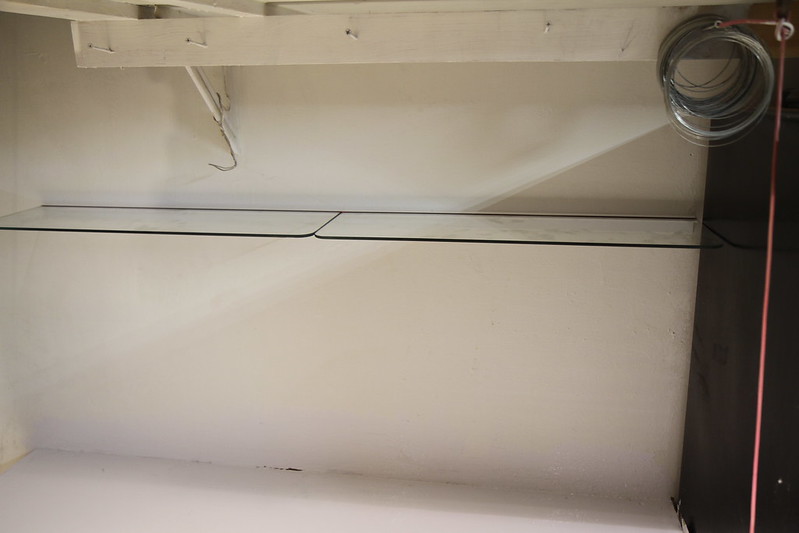
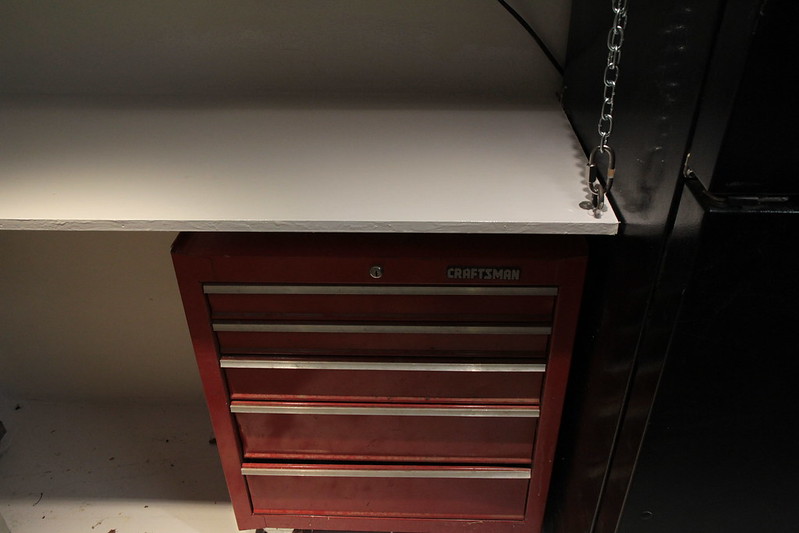
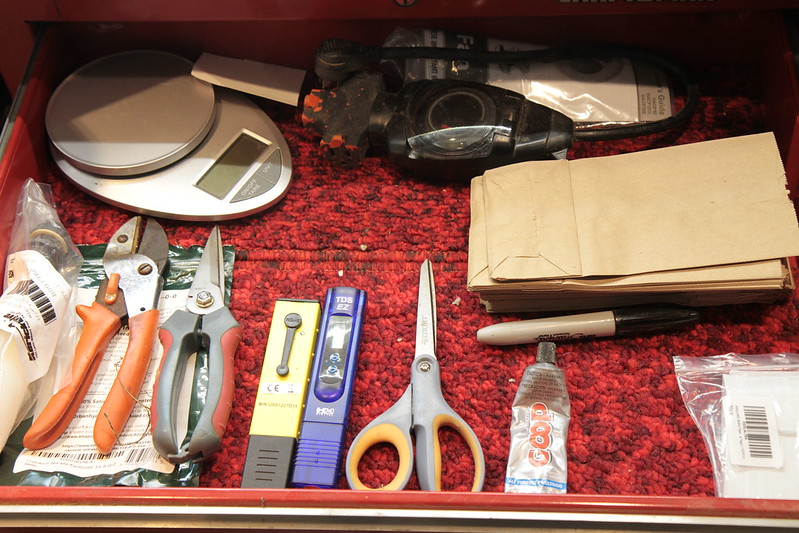
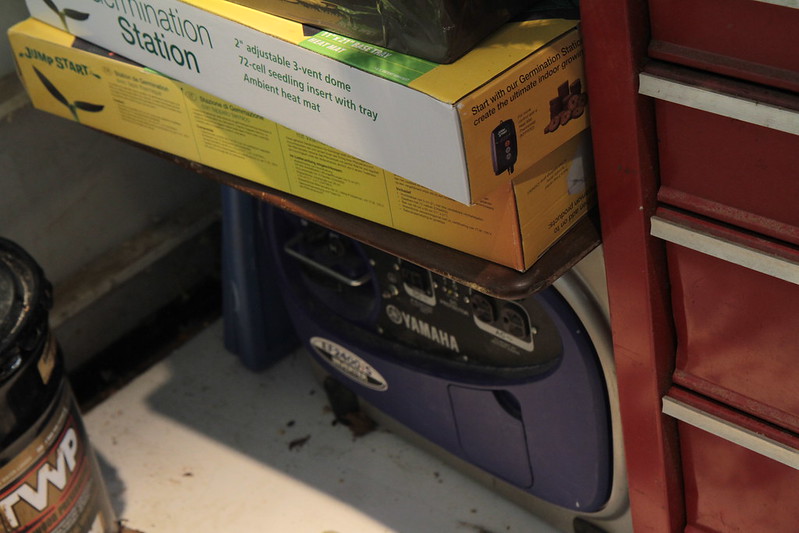
Grow Light Build December 26th, 2015 - updated December 18th, 2018 For the upcoming 2016 garden year I decided to build a Grow Light/Germination area this winter. I also wanted to be able to grow some winter veggies for my salads and smoothies. I don't know if this is cost prohibitive but its not about saving money anymore, recently it has become a risky business purchasing lettuce, my wife has been ill twice due to e-coli poisoning and once she ended up in the ER. Onto the build There was an area in my garage that is just the right size, (barely), but I was using it for storing scrap metal, paint, deck stain, my generator, a tool box and a bunch of other stuff. I decided I would much rather have the spot for a permanent grow area, so I thinned everything out and made it work. The generator and toolbox will stay, the toolbox was thinned out and a few drawers will be used for the indoor grow area tools and supplies. There is another problem with this corner as it can be quite drafty from the garage door, I am working on that.
 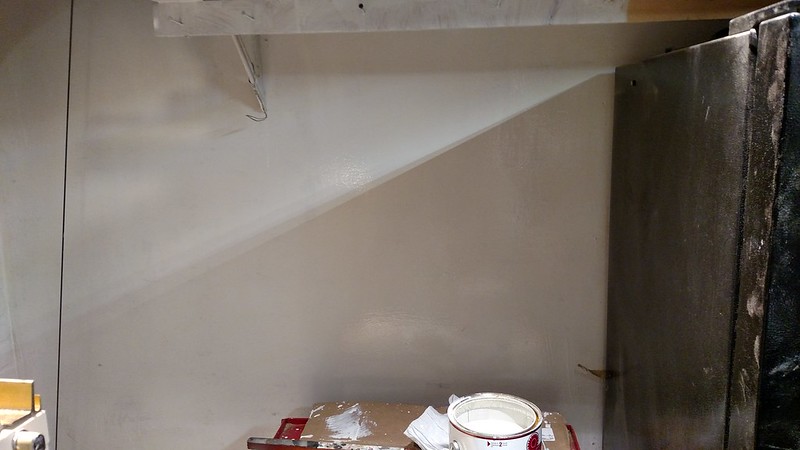
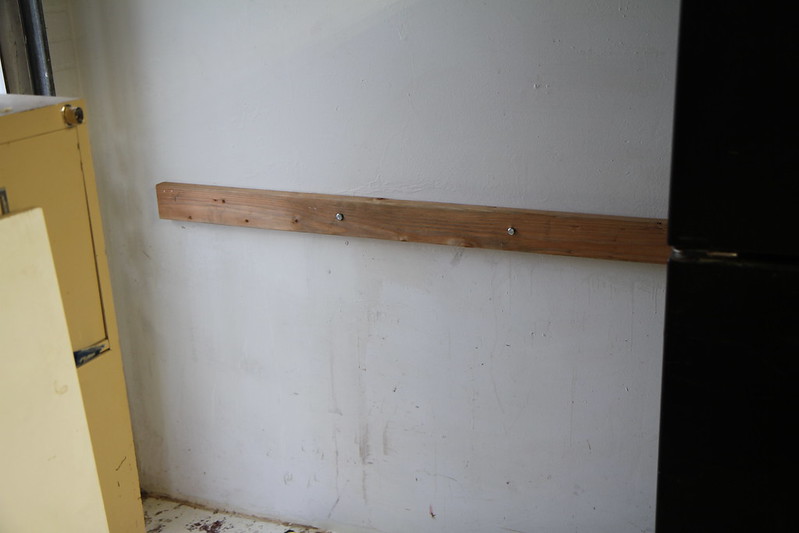
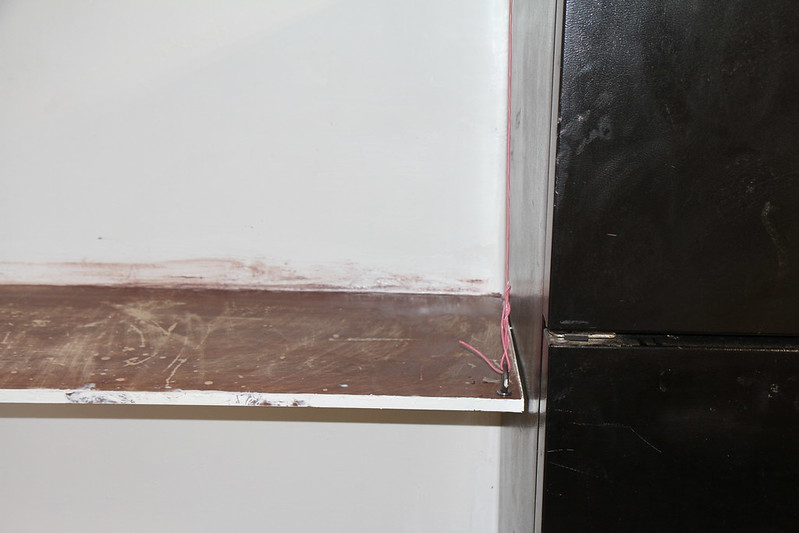
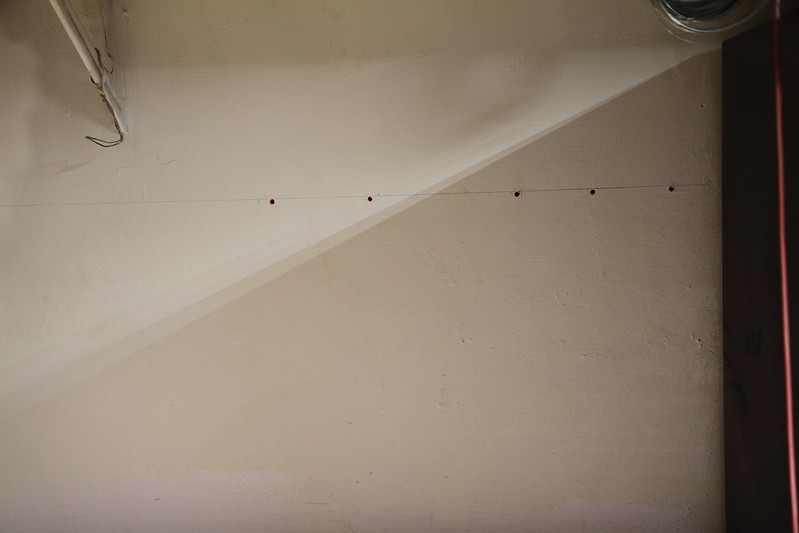
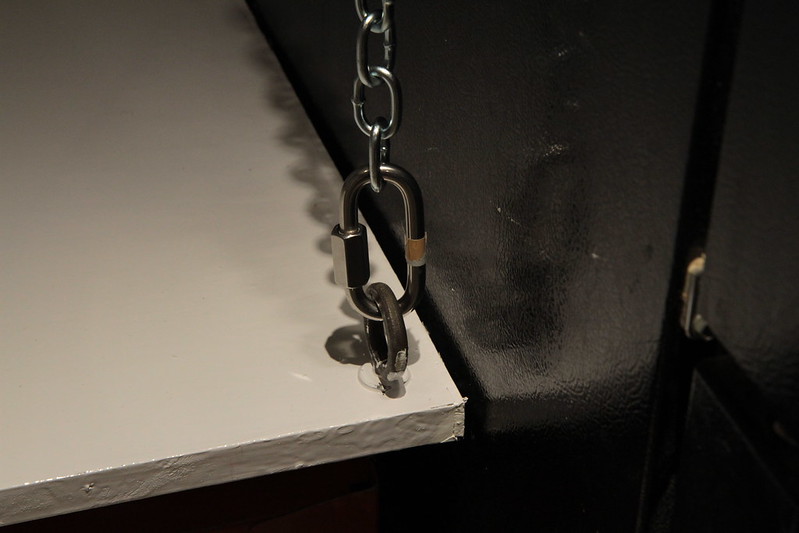
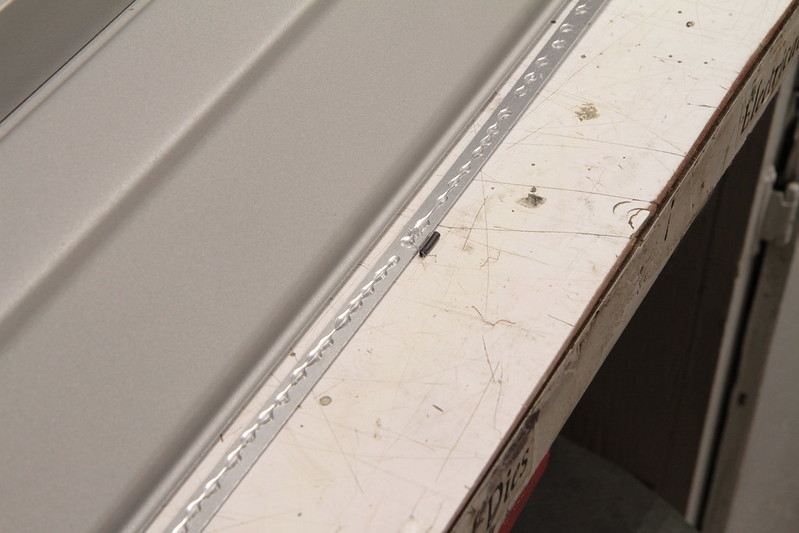
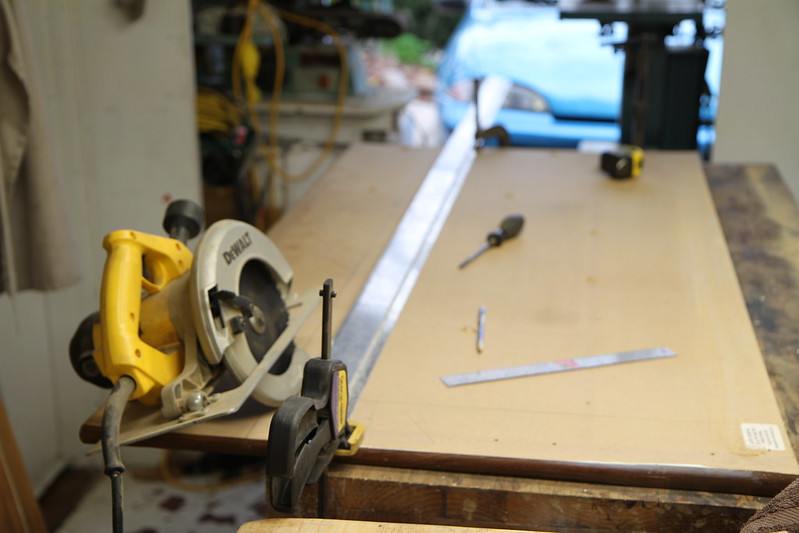 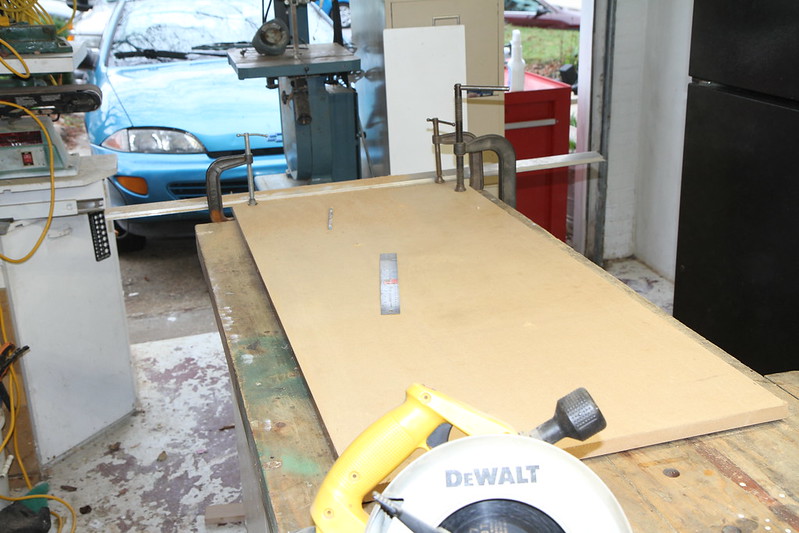 I didn't want legs on the table and wanted a "floating table", to do this, a hole was drilled in one corner and an eye-bolt is installed, I used a bead of silicone when installing the eye-bolt. Another eye-bolt is installed in the shelf above where the table top eye-bolt is located, most on the weight will be on the nailer plate.
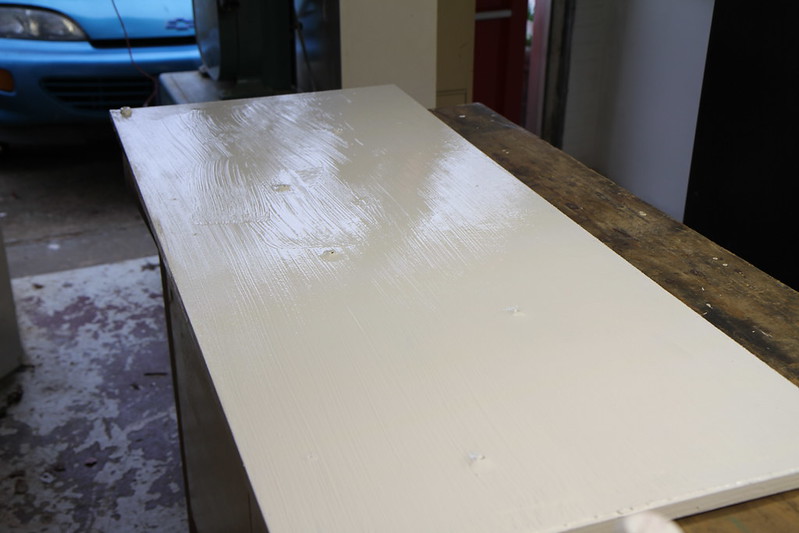
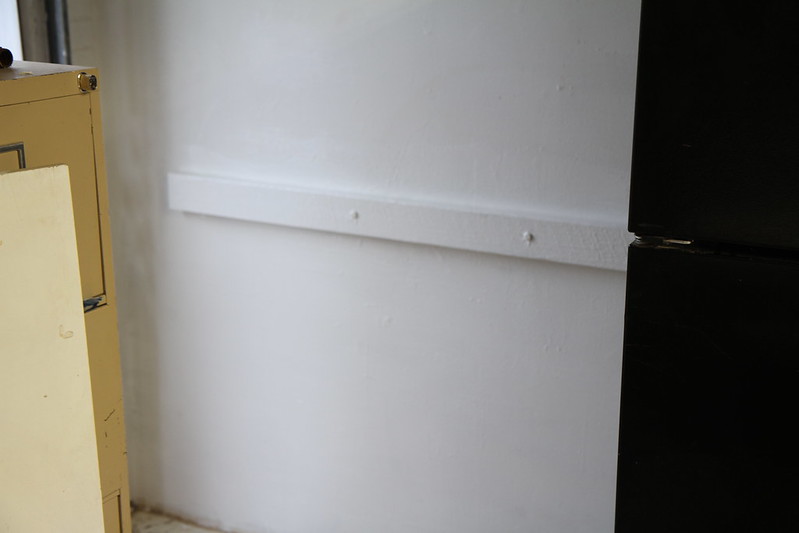
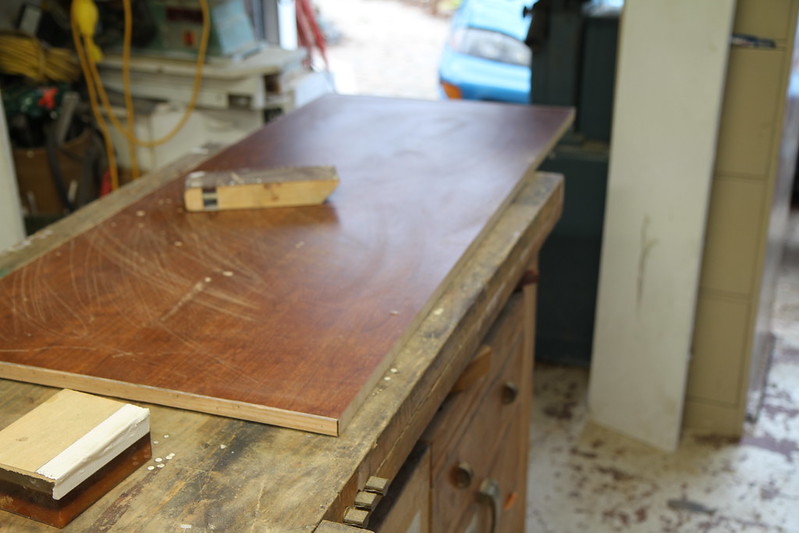
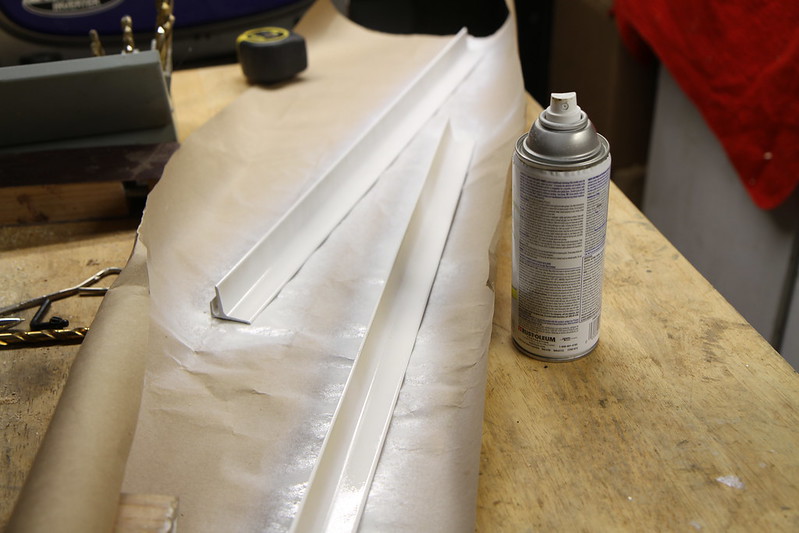
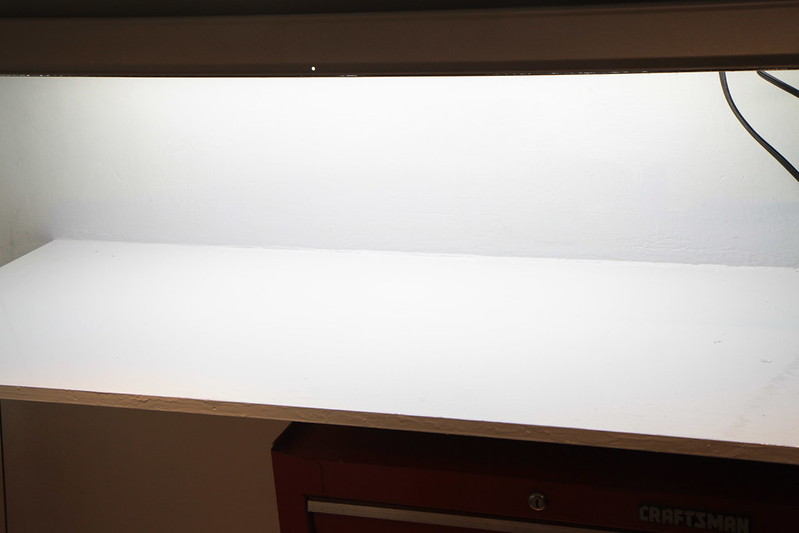
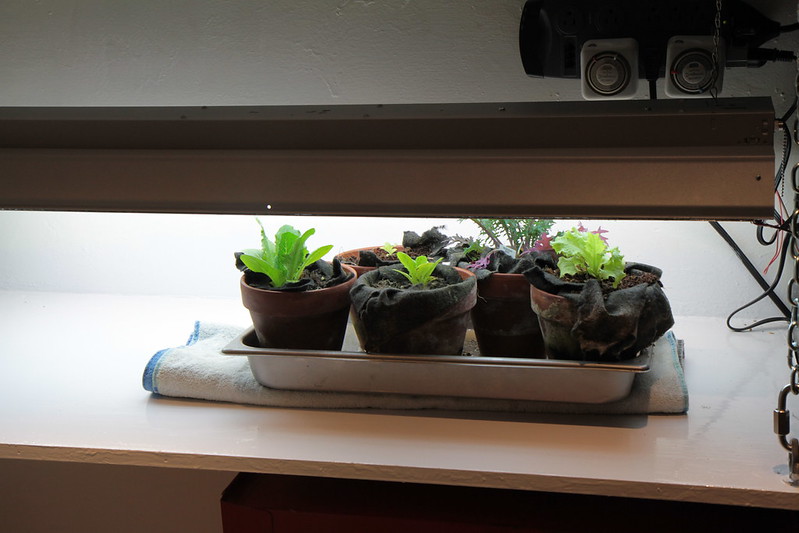
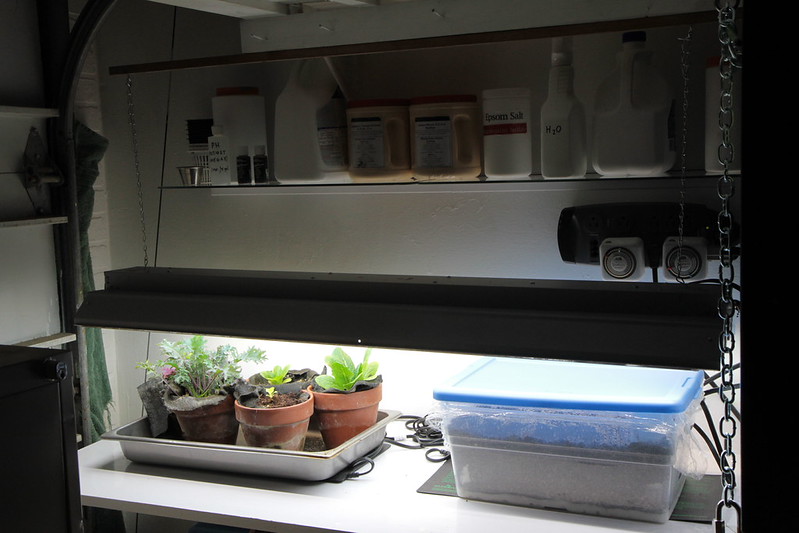
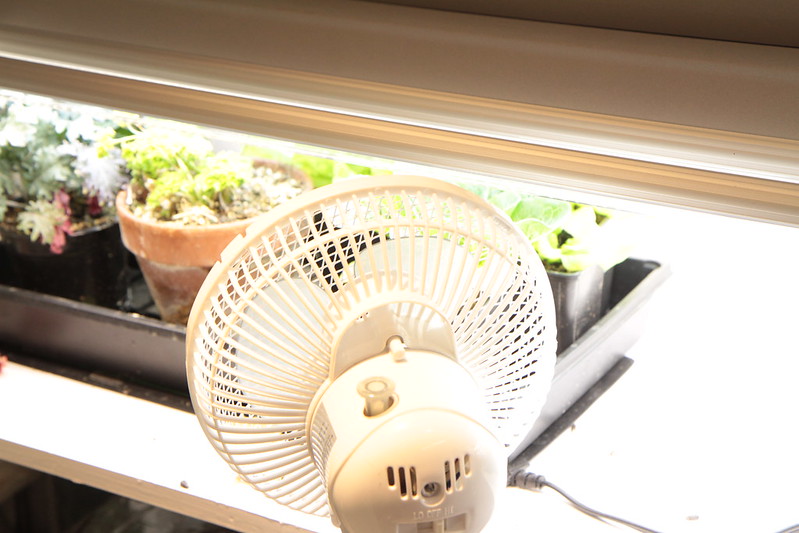
 After the shelf install I put on another coat of oil base enamel on the tabletop. I had a few lettuces growing, a few were growing in the shut down Aquaponics planter by the Koi pond and a couple sprouted from seed I had planted late in the season in the shut down Aquaponics rail NFT/Deep water culture hybrid system. I figured this would sort of be a trial, the plants are placed under one of my 2 bulb LED shop lights. The plants are in terracotta planters lined with a wicking material (pond underlayment) then placed in a steamer pan with some water and a bit of fertilizer. These will be moved to the grow table once the table is completed. 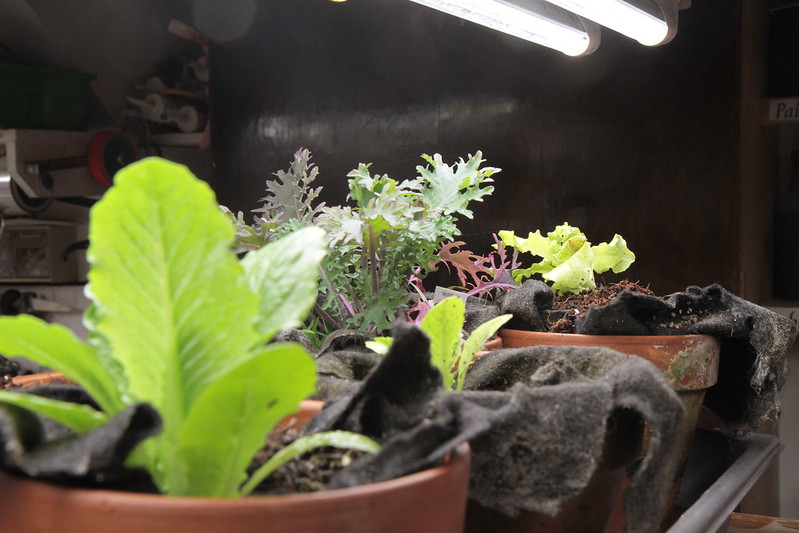 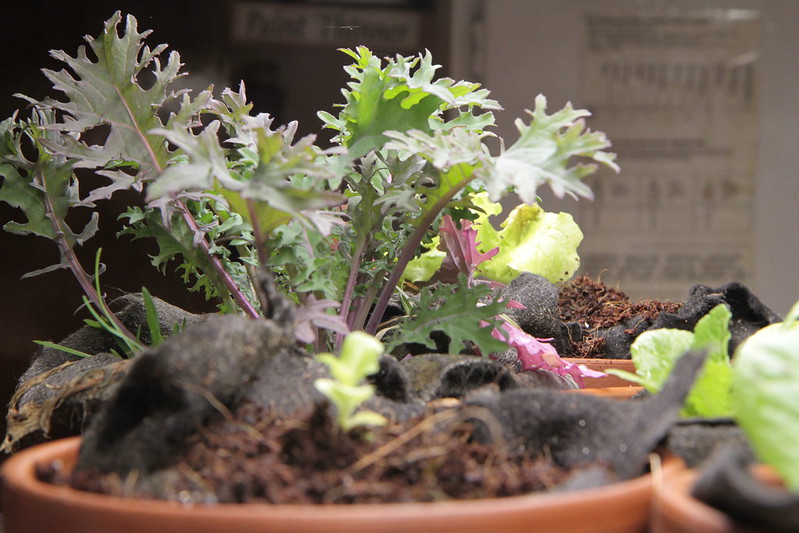
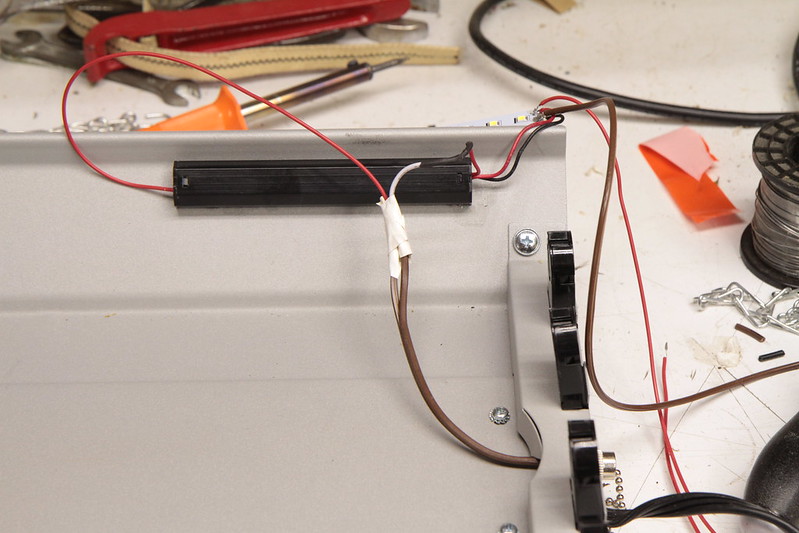
 After a bit of research I decided on a 4 bulb 4' Fluorescent fixture using 6500 Kelvin bulbs. I almost purchased this T5 grow light from Amazon, it seems like a pretty good deal and is worth looking into. I don't need to cover the Red spectrum for seedlings and greens. Warm Glow - 2200k, Soft White - 2700k, Bright White - 3000k, Daylight - 5000k, Cool White - 6500k The shop light is modified with 2 strips of LED's, these LED strips were removed from two 48" LED shop lights, one had a bad internal driver and the other was a wrong bulb sent to me as a replacement for a bad bulb from a 4 pack (the replacement bulb was a "linear led" and since my existing setup was a ballast bypass type LED with shunted tombstones, you can imagine my surprise when I popped this bulb in and sparks shot out and blew the circuit. Anyhow the LED's are stripped out and wired together to share the driver, then the LED strips are glued to the lamp housing, giving me a 6 bulb fixture.
 December 30, 2015
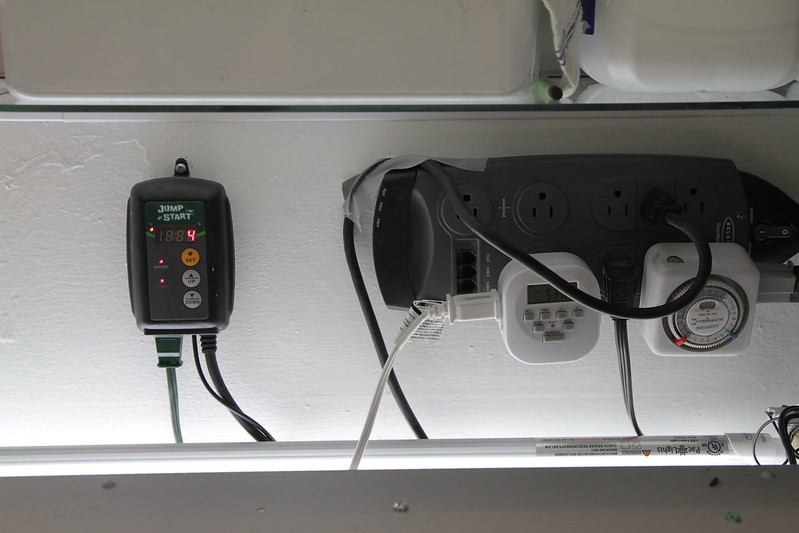
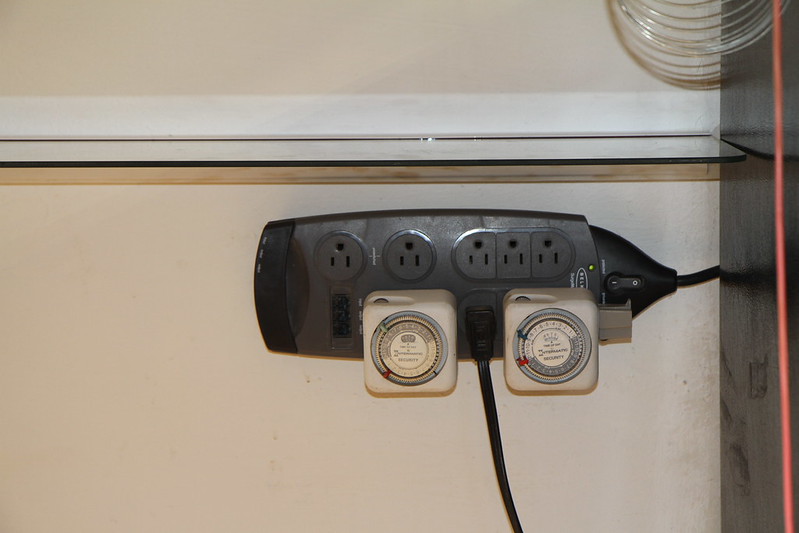
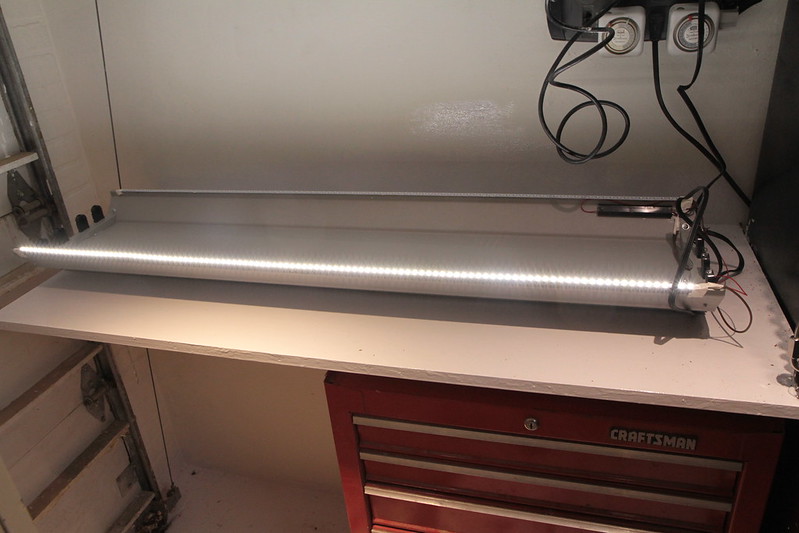
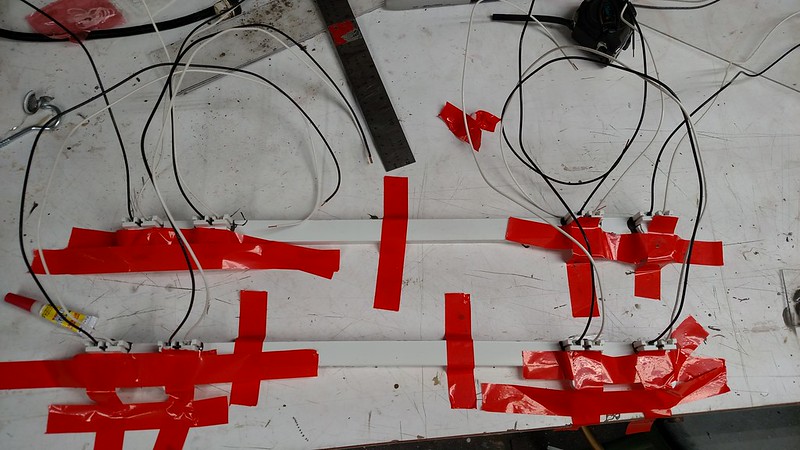
 Four more lights were added using led's this time, I glued 4 tombstones on each side of aluminum bar stock from an EZ-Up and secured to the shop light using 3/4" self tapping screws. The tombstones are wired to a cord with a plug scavenged from an old lamp, this is then plugged into the other end of the shop light, I can now turn the 11" x 22" trays 90° allowing four side by side trays if need be.
 Last edited by SQWIBB; December 19, 2018 at 07:15 AM. |

|

|
|
|


 View Public Profile
 Find More Posts by SQWIBB

 Threaded Mode