Member discussion regarding the methods, varieties and merits of growing tomatoes.
|
 |
|
|
Thread Tools | Display Modes |
 October 2, 2019
|
#1 |
|
Tomatovillian
Join Date: Aug 2015
Location: Indianapolis Area 46112
Posts: 853
|
Why is the soil under my black plastic mulch covering the raised bed so darn hard w/ large cracks and fissures?? I water at holes near plant stem daily but it is hard to even get a trowel to penetrate the soil? The plants do great - production fair to very good. The soil is a raised bed mix w/ mushroom compost. Getting ready to order more black plastic to get ready for spring but wondering about the darn hard soil??
Maybe, if it ain't broke don't fix it ??? and carry on with the black plastic mulch? My only gripe is way too many pill bugs - they just bother me. I water every day and 1/2 through season noticed the fissures and hardness of soil. Yes it is covered w/ black plastic. I wonder if the garden lime and epsom salts/ ttone/ and other organic fertilizers have created lumping/hardening of the soil after a few(4) yrs?/ Never seen anything like it. I see the ground outside the bed does crack which I see every year but the garden soil/ mushroom compost / topsoil mix in the raised bed I would not expect this. Around some of the plants put the hose to them and the water disappears...........down the cracks/fissures Thanks Pete |

|

|
|
October 2, 2019
|
#2 |
|
Tomatovillian
Join Date: Jun 2015
Location: VA-7a
Posts: 121
|
I expect the top soil and garden soil are small particles and the mushroom compost isn't enough to keep the structure of larger particles/clumping in the soil you need to avoid cracking, particularly if you turn/till the soil each year. When it is all small particles and homogenous it will crack when it shrinks from drying. The black plastic will heat the soil quickly, drying out the surface faster and increase the cracking. A quick fix might be to mix in some peat moss or pine fines to give it a more varied particle size.
Another option and more of a long term strategy would be growing some cover crops. This may not be worth the effort if it is just a few small beds, but it is cheap and easy since once planted and watered in, you usually don't need to do a lot to keep the cover crop going. If you want to try this I would suggest taking the plastic off when you pull your garden this fall and growing a cover crop in the beds over winter, maybe a mix of hairy vetch and crimson clover. Then just cut the plants and leave the roots in the soil to decompose and leave the cut cover crop plants on top of the soil to decompose under the black plastic when you recover for next year's garden. With this approach it is better not to turn/till the soil. This will add some structure to the soil, add nitrogen and more varied organic content, particularly as the earth worms start moving through the soil. I do this, but I actually put a layer of wood chips (free from the county) on top of the cut cover crop instead of using black plastic and by the end of the season the chips are mostly broken down as well. |
|
|
|
|
October 4, 2019
|
#3 |
|
Tomatovillian
Join Date: Aug 2015
Location: Indianapolis Area 46112
Posts: 853
|
thanks zen, with the mushroom compost mixed in with the fine black dirt it is not exactly what i would call homogeneous but maybe where there is little compost(mostly fine black dirt) that is indeed where the "fissures" occur - I will need to remove black plastic mulch and investigate. I did not want to have to dig, turn, and mix the soil but i may have to
 ............. ............. lazy.... |
|
|
|
|
October 4, 2019
|
#4 |
|
Tomatovillian

Join Date: Dec 2010
Location: Pewaukee, Wisconsin
Posts: 3,146
|
Let's see if we can help you not having to dig. You could add a layer of cardboard and then cover that with something organic such as wood chips, lawn clippings or leaves. Make it a nice layer of about six to eight inches then add some manure, compost or peat moss and cover it with your plastic. This will add the organics that your soil is needing and should work well for you.
Good Luck
__________________
~ Patti ~ |
|
|
|
|
October 4, 2019
|
#5 |
|
Tomatovillian

Join Date: Apr 2009
Location: Wichita Falls, Texas
Posts: 4,832
|
If you do as MissS suggest, dampen the cardboard before you cover it in leaves or ???, the earthworms LOVE damp cardboard to eat. Earthworm candy to them.
__________________
I'm not a complete idiot, some parts are missing. |
|
|
|
|
October 4, 2019
|
#6 |
|
Tomatovillian
Join Date: Aug 2015
Location: Indianapolis Area 46112
Posts: 853
|
Oh cripe!? I was thinking that the mushroom compost was the organics that I needed and the yearly quest for leaves was over
 From the supplier "Mushroom Compost is a totally organic, rich, moist mixture of wheat straw, peat moss, cottonseed meal, cottonseed hulls, corncobs, cocoa bean shells, gypsum, lime, chicken litter and/or horse stable bedding. • This combination of ingredients is used in commercial mushroom farms to grow mushrooms. • Following production of mushrooms the compost is cooked off at 160 F for 10 hours to kill undesirable pest and is usually free from weed seeds. • Great for gardens and flower beds!" "Black dirt comes from the lower layers of peat bogs and is made up of decomposed plants and essential nutrients. " How long does it take for the cardboard to breakdown if wetted and leaves placed over the top? Thanks Pete Last edited by tryno12; October 4, 2019 at 04:14 AM. |
|
|
|
|
October 4, 2019
|
#7 |
|
Tomatovillian
Join Date: Dec 2010
Location: Pewaukee, Wisconsin
Posts: 3,146
|
They cardboard here is gone in about 2 months. It is a great weed barrier and after it is wet easy to plant through. Just cut an X and drop your plant in.
__________________
~ Patti ~ |
|
|
|
|
October 6, 2019
|
#8 |
|
Tomatovillian

Join Date: Dec 2016
Location: Pittsburgh, PA
Posts: 3,194
|
Sometimes in a dry year my garden floor has become cracked & dry. The tomatoes seemed fine with it. (I dry farm.) I bet that soil could benefit from organic stuff since almost any soil does. Corrugated cardboard (remove all tape first) holds in moisture & keeps out weeds. Corrugated cardboard lasts most of the winter here & is beginning to fall apart by the time I plant the tomatoes. Gathering leaves can be a pain, but it's free. Straw bales are easier but you pay. Grass clippings are free, and you can invite the neighbors to contribute to the grass clipping pile. (Hint: see which neighboring lawns have clover & other weeds growing in them. Invite those people to give you grass clippings, because they are obviously not using weed killer on their lawns.)
|
|
|
|
|
October 7, 2019
|
#9 |
|
Tomatovillian
Join Date: Aug 2015
Location: Indianapolis Area 46112
Posts: 853
|
yeah Nan, I have asked before to get clippings from neighbors realizing those w/dogs/ weed killer no thanks. Being a large raised bed (20' X 6' X 18" deep) I will crawl up there and turn into with a shovel some leaves this fall (prob within a month) then maybe cover w/card board for winter. Definitely not the earthworm population compared to my non-raised beds - in fact have I have not seen a one in the bed - one hundred million pill bugs though!! ??
Pete |
|
|
|
|
October 8, 2019
|
#10 |
|
Tomatovillian
Join Date: Dec 2016
Location: Pittsburgh, PA
Posts: 3,194
|
You could skip the turning-over portion. Just layer on the leaves, water to make the leaves stay put better, and cover with cardboard.
I think pill bugs eat the sort of stuff one composts. |
|
|
|
|
October 8, 2019
|
#11 |
|
Tomatovillian
Join Date: Jan 2018
Location: Philly 7A
Posts: 739
|
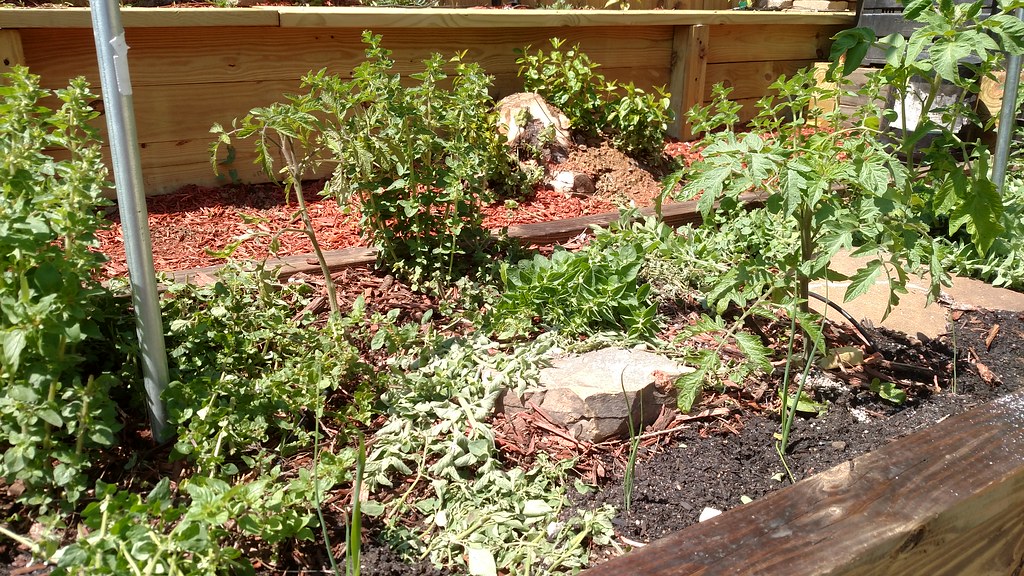
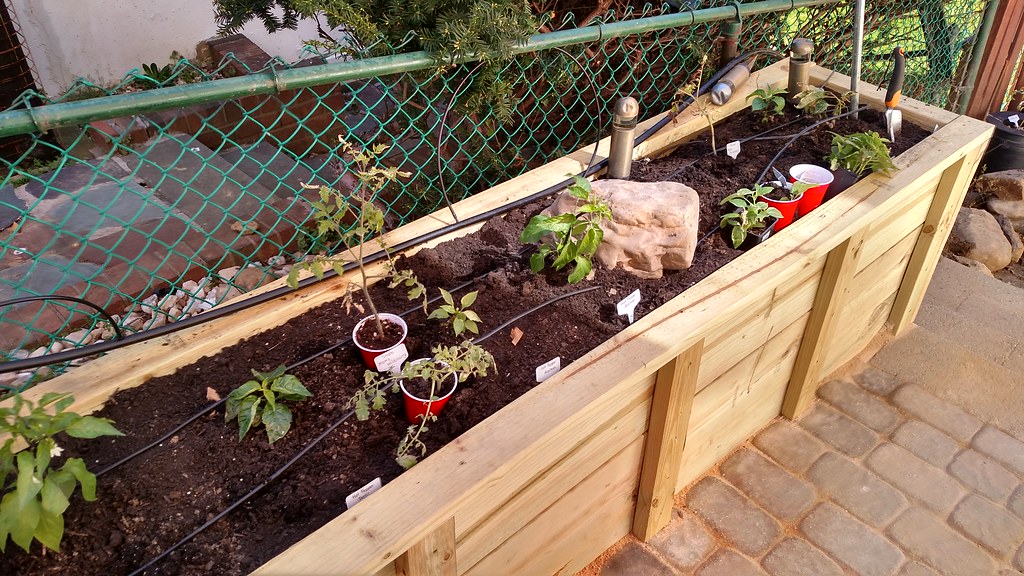
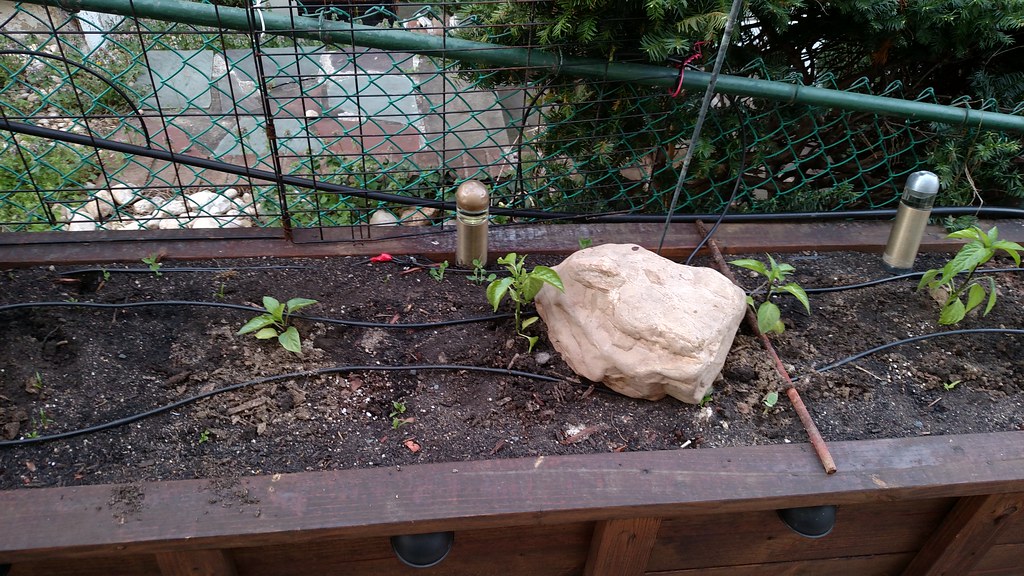
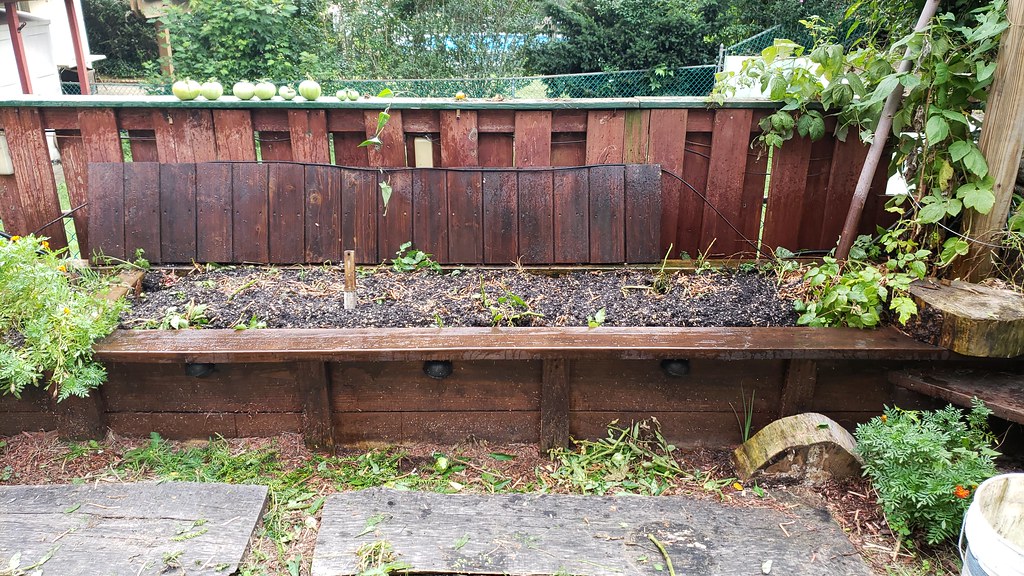
First off, my apologies, this is going to be a long post and in three parts due to all of the images, it is a copy/paste from my website. Hopefully you can glean some useful information.
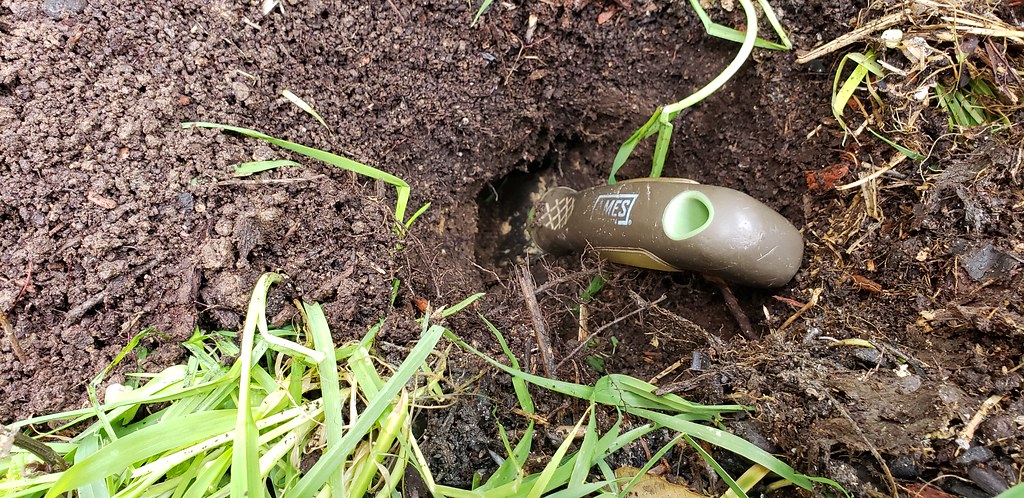
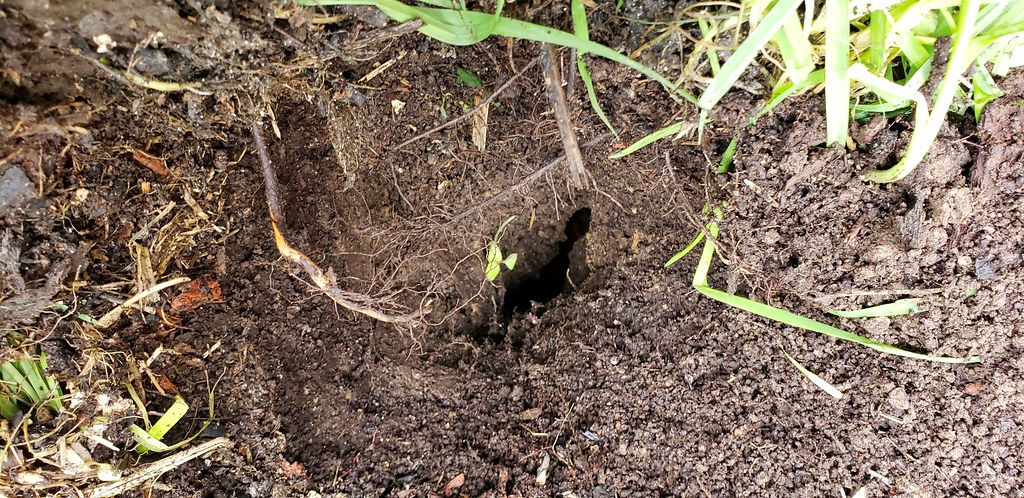
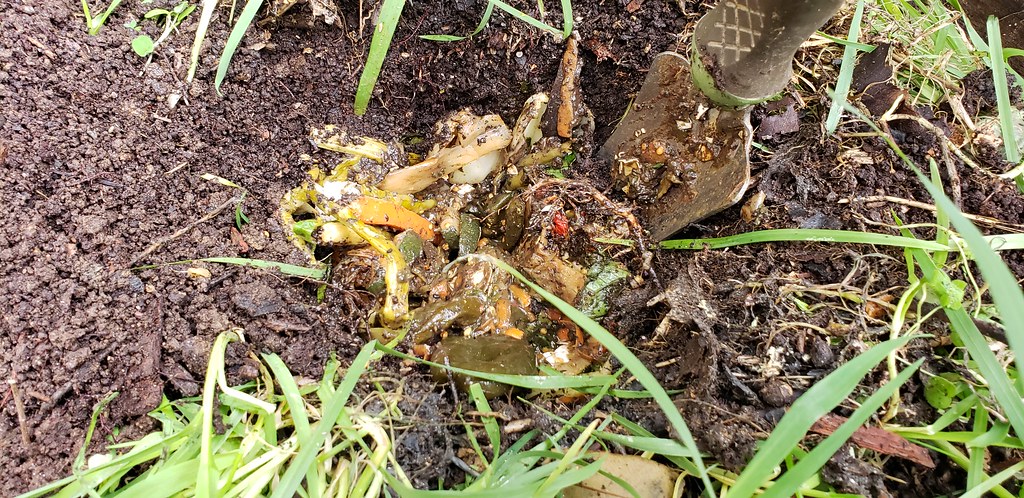
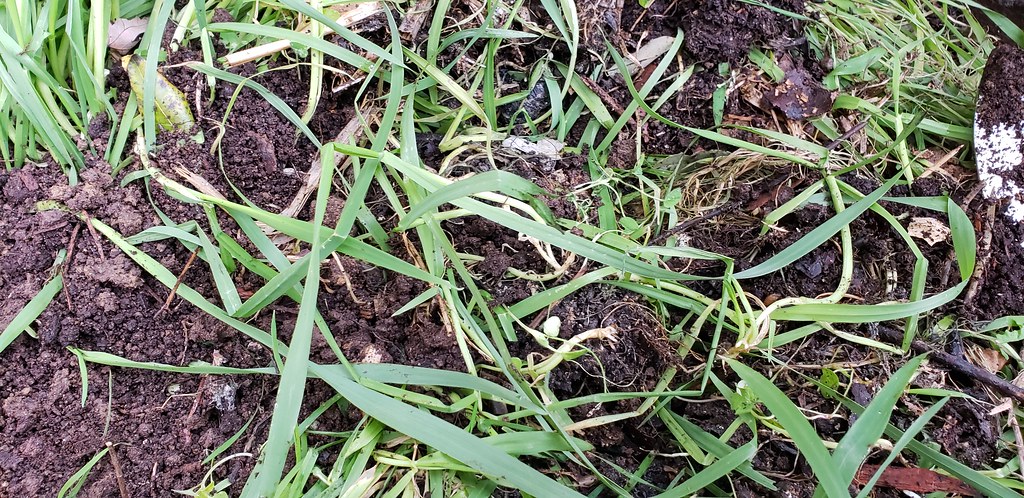
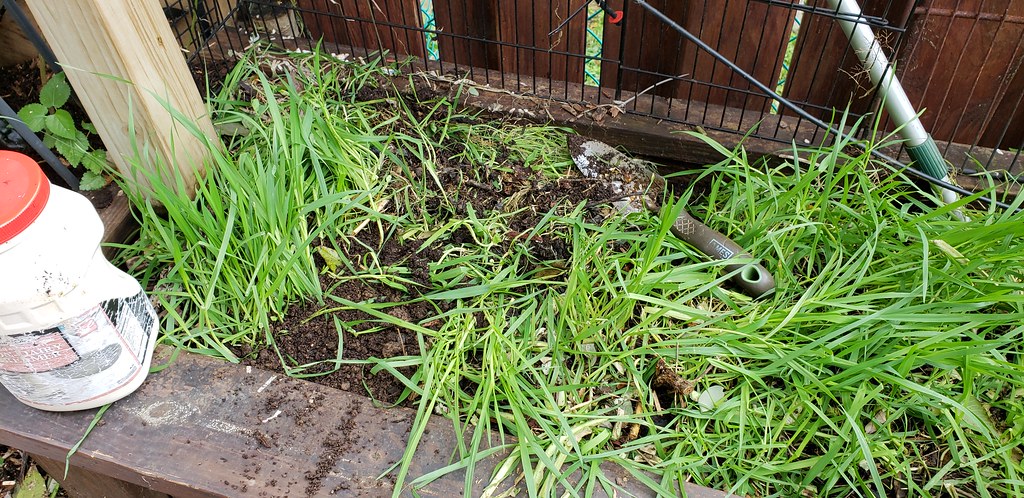
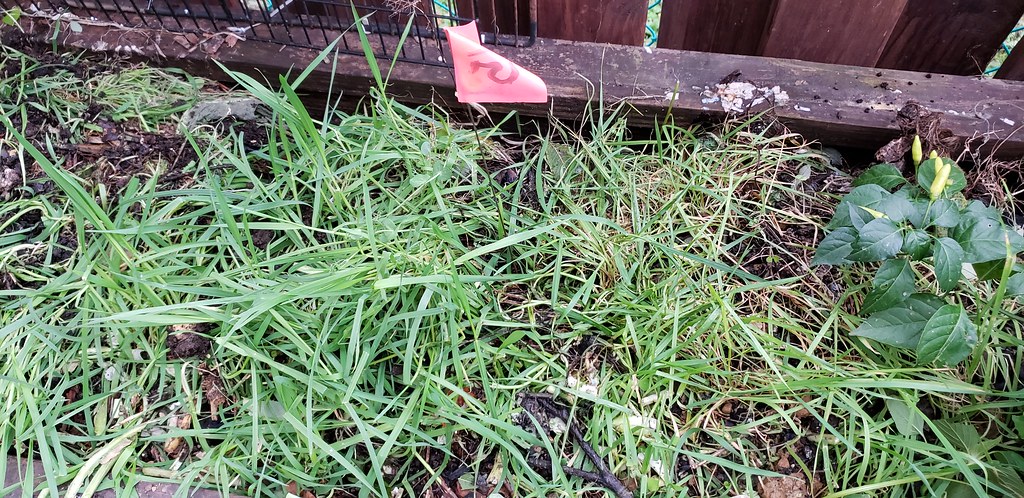
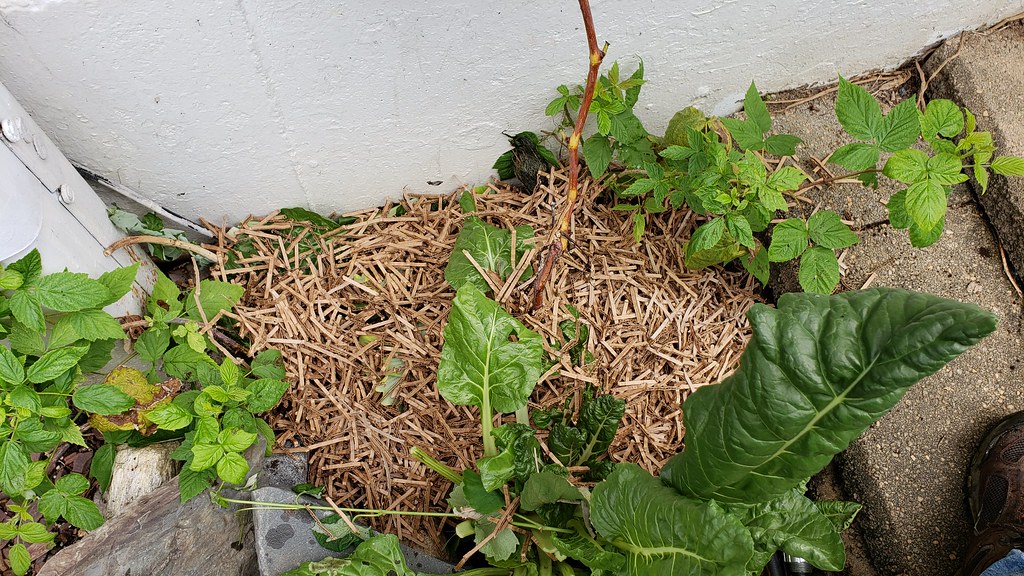
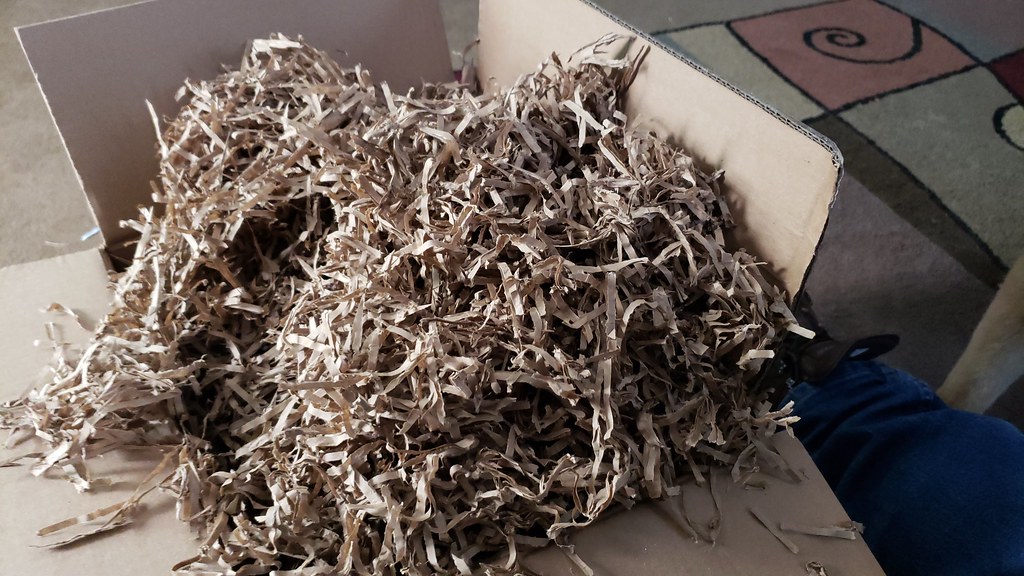
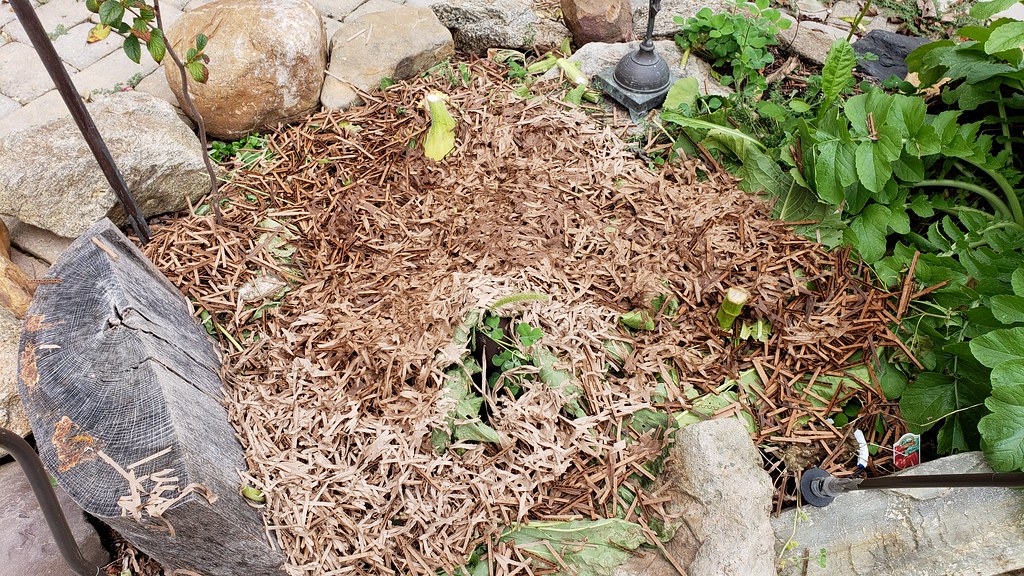
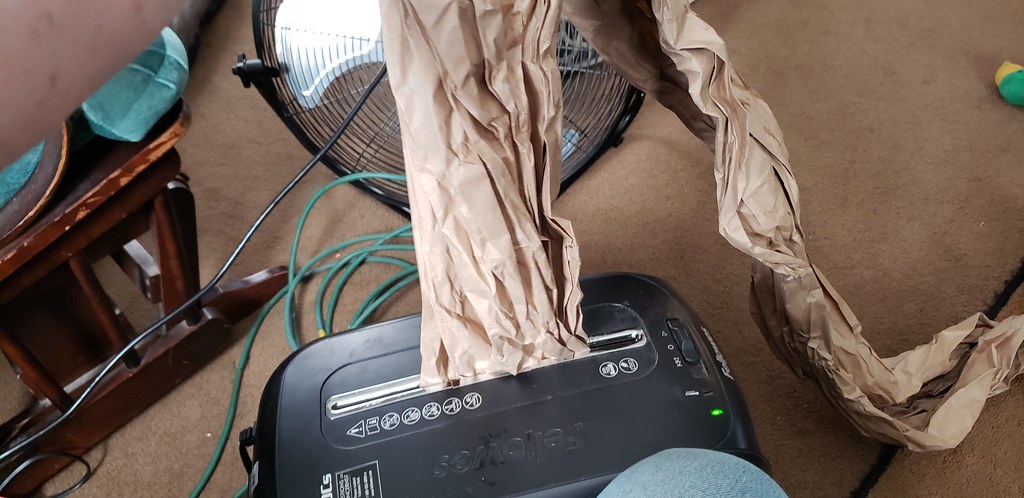
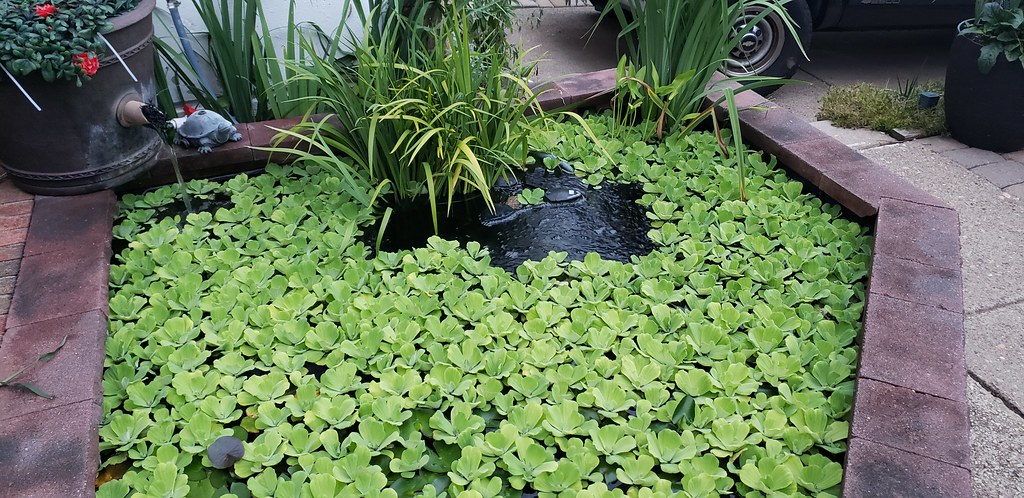
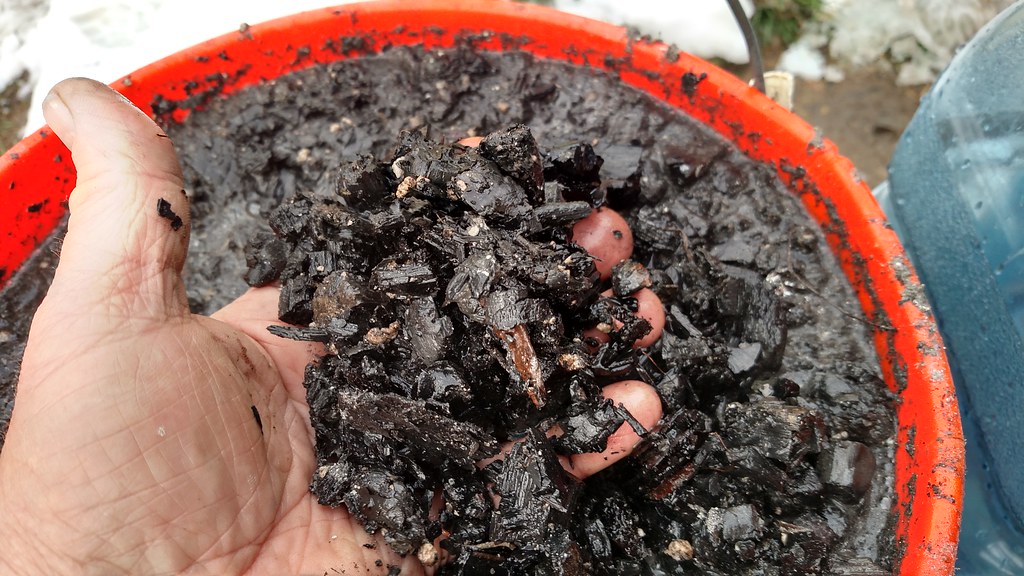
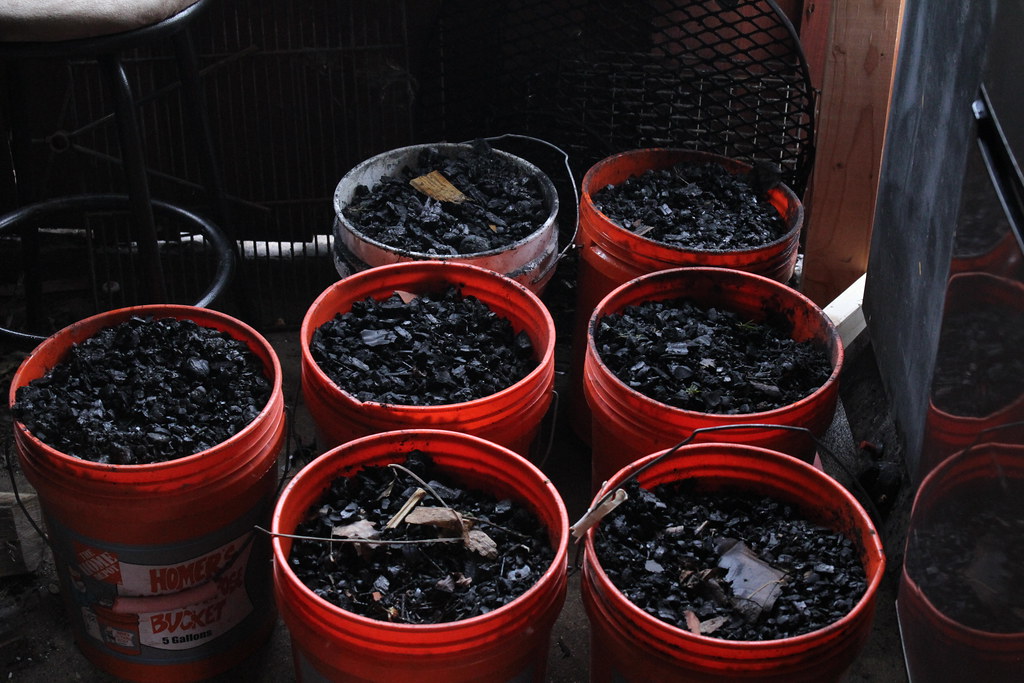
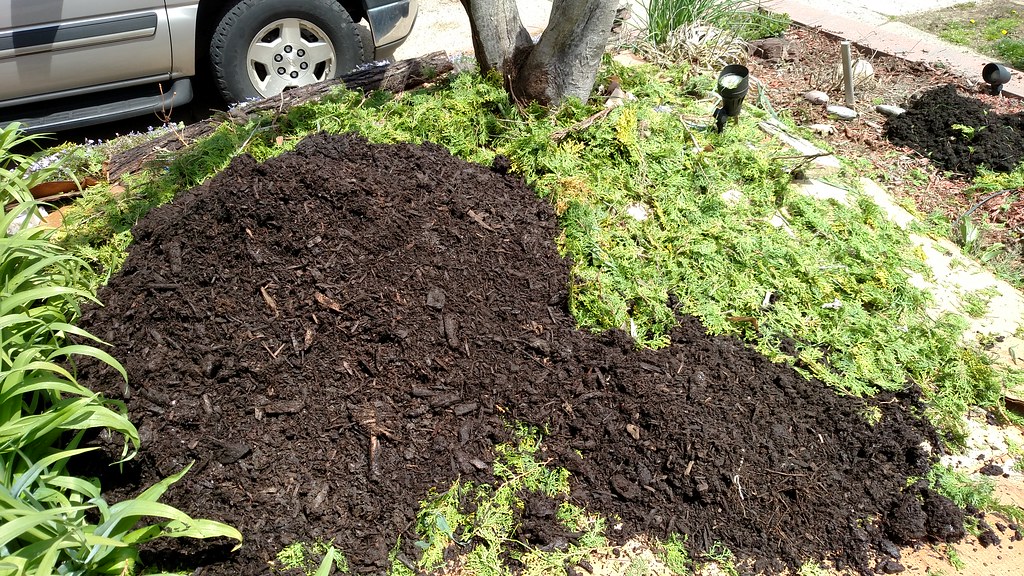
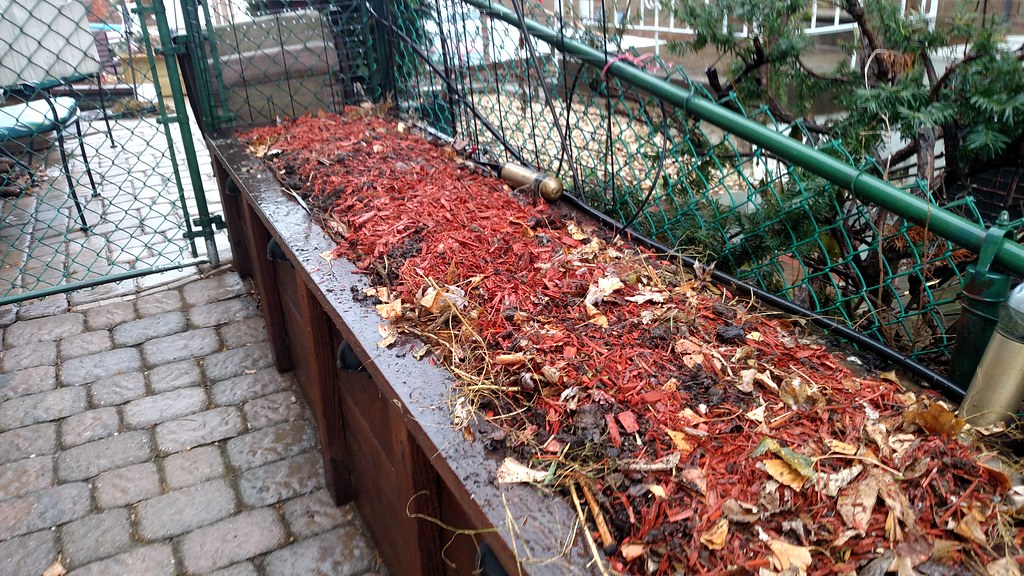
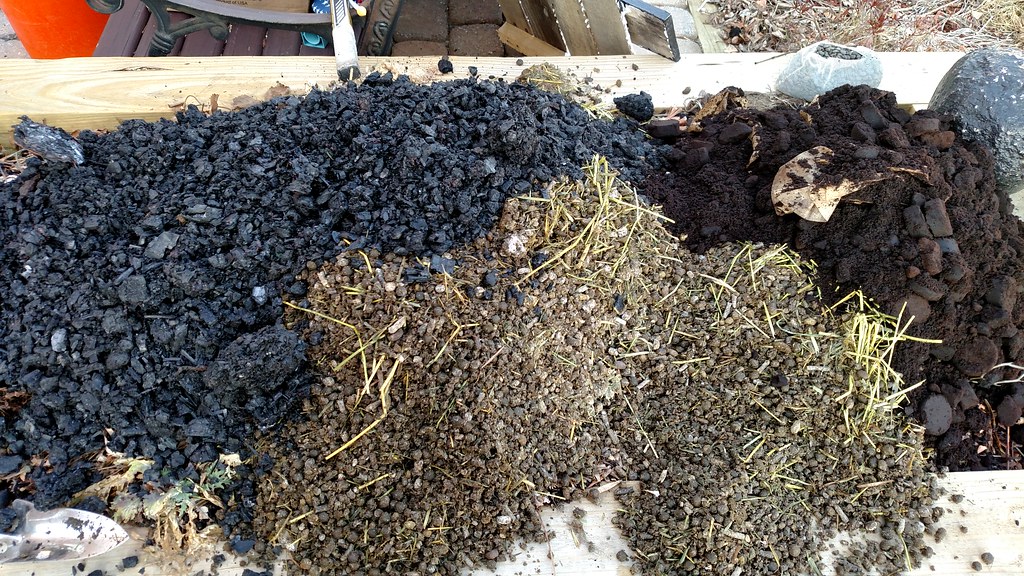
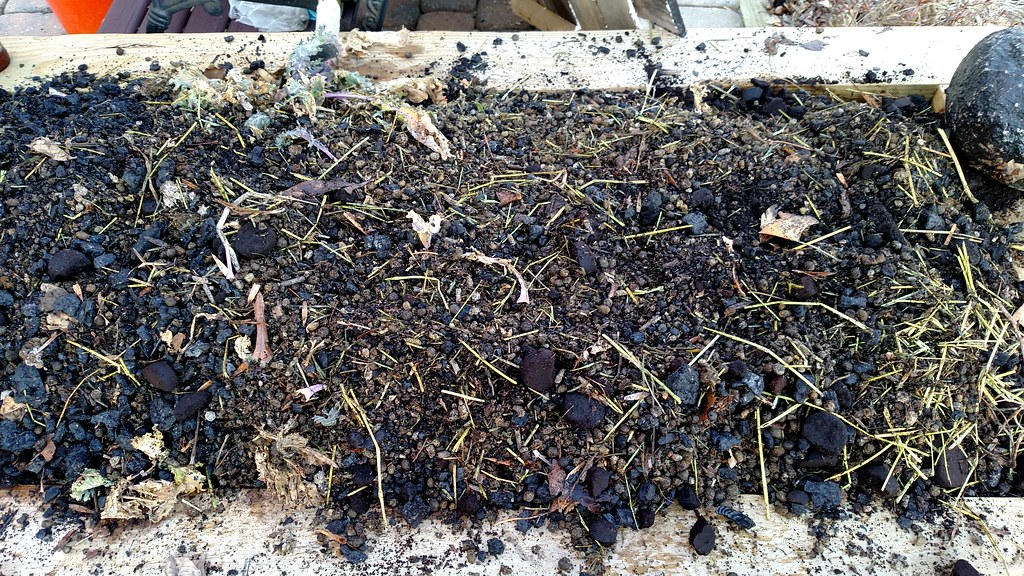
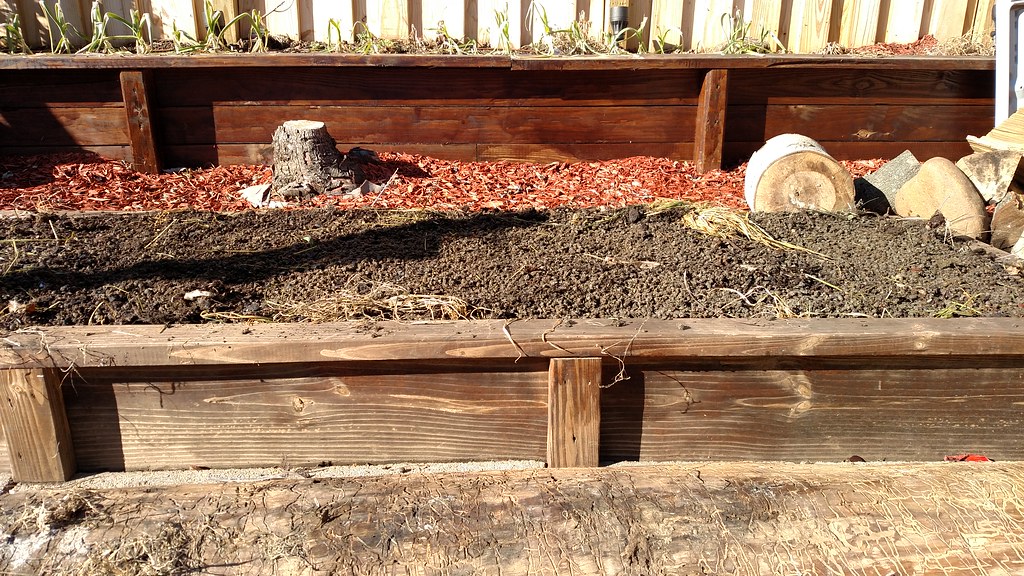
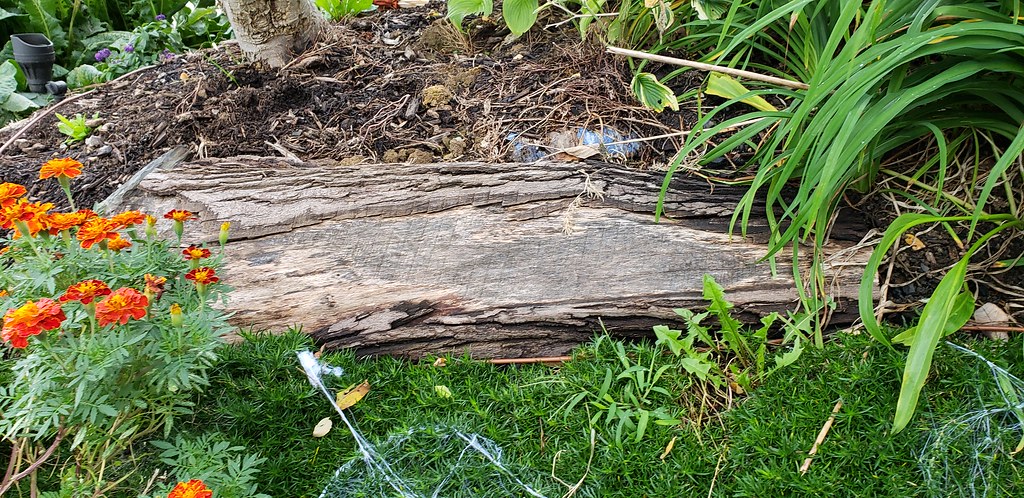
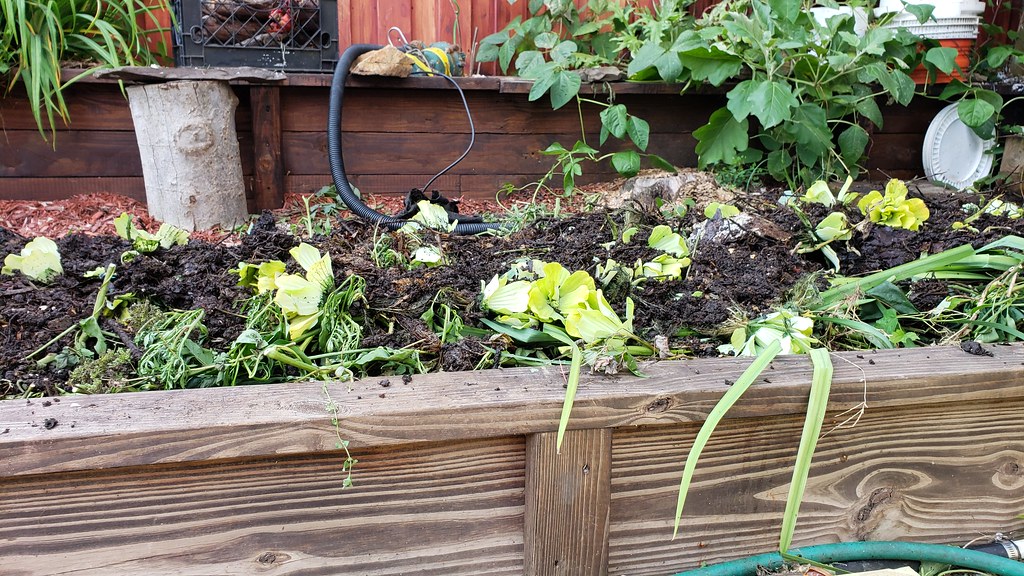
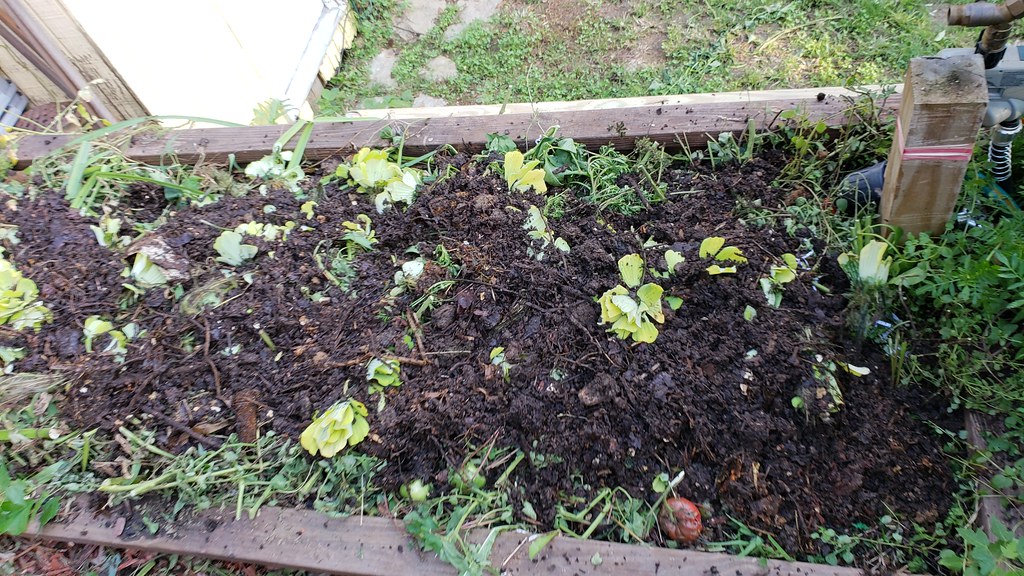
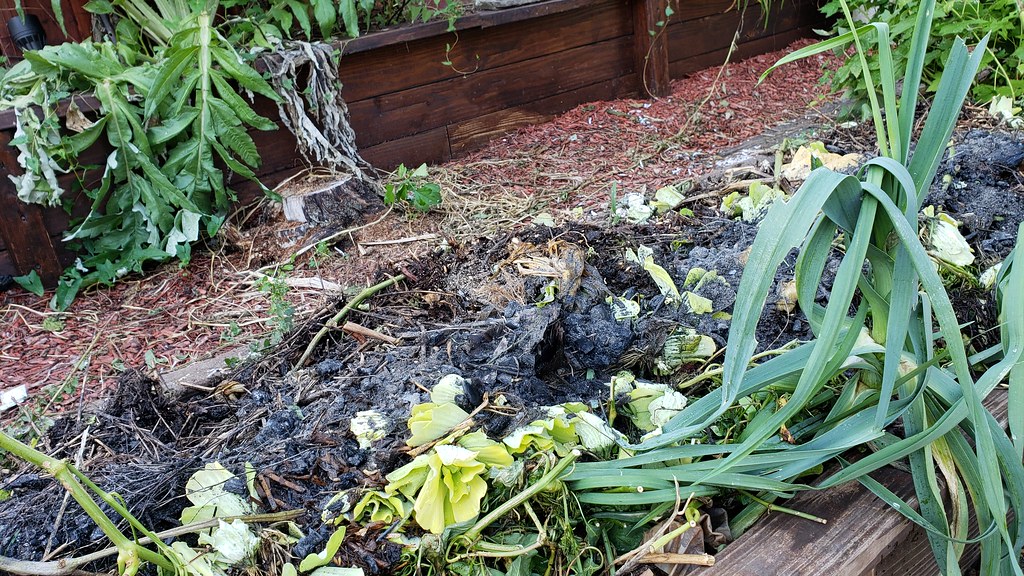
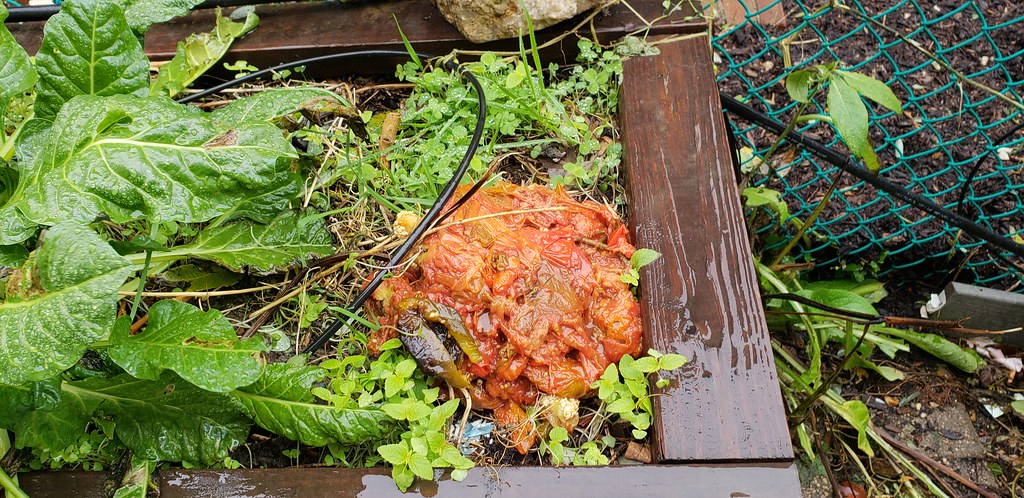 In the winter if there's snow on the beds, I just dig kitchen scraps in the snow and cover with snow. If the beds are frozen solid, I try to hold out long enough till the ground is somewhat thawed. Stuff like Bio-char, Rabbit manure, animal bedding, vacuum cleaner remnants, hair and coffee grounds and ashes will get tossed right on top of the beds. I would consider this practice, mulching. So to me, if scraps are under the mulch layer and in direct contact (slightly soil covered) or under the soil, I consider it composting material, if the scraps are above the soil line, I consider it a mulch (layering). There, that was easy, wasn't it? Here are a few examples of "in-situ" composting I pushed aside some mulch, dug in three compost holes around my apple trees, covered with soil, slid the mulch back then topped with coffee grounds and some trimmed shrubs. 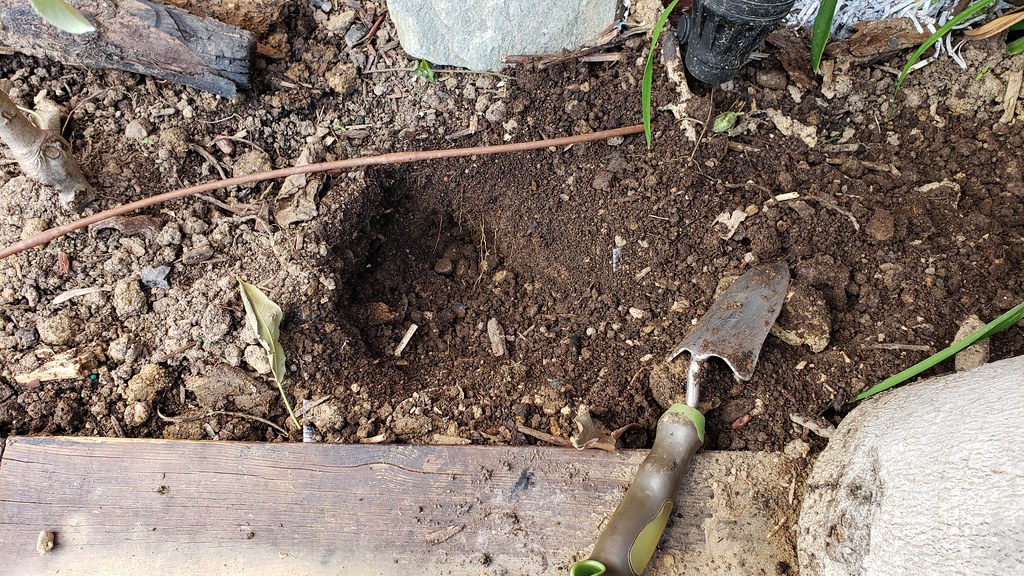 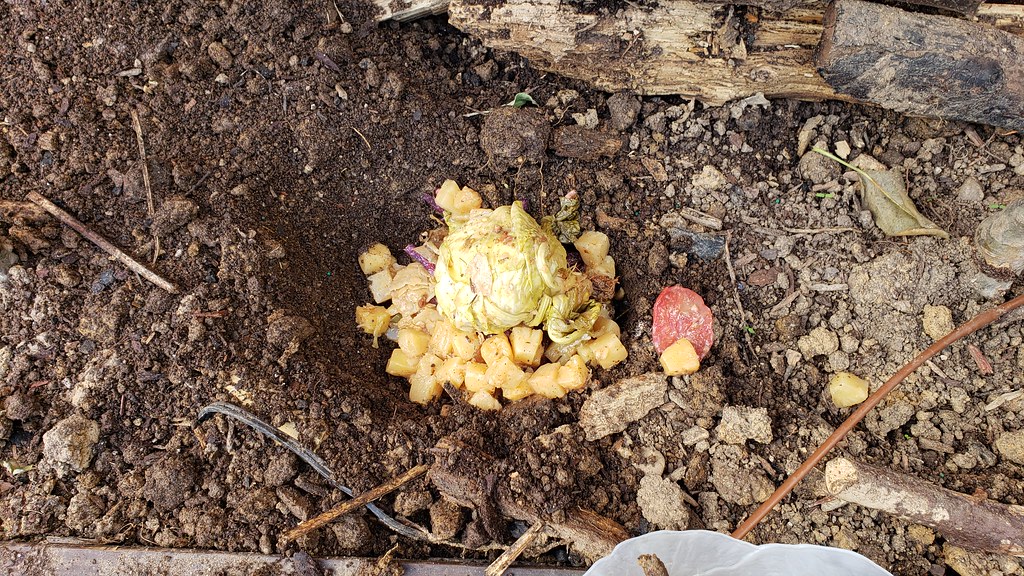 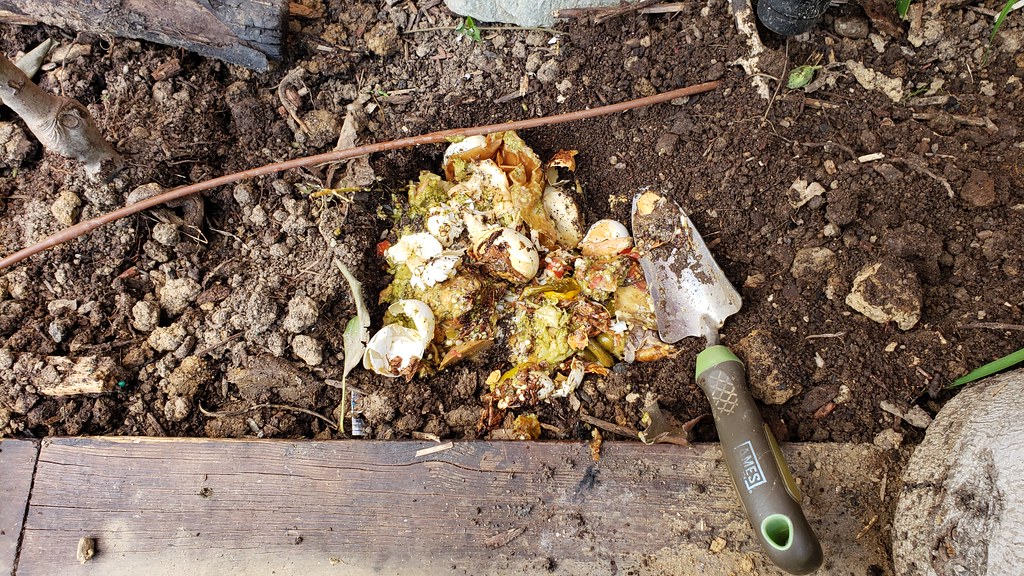 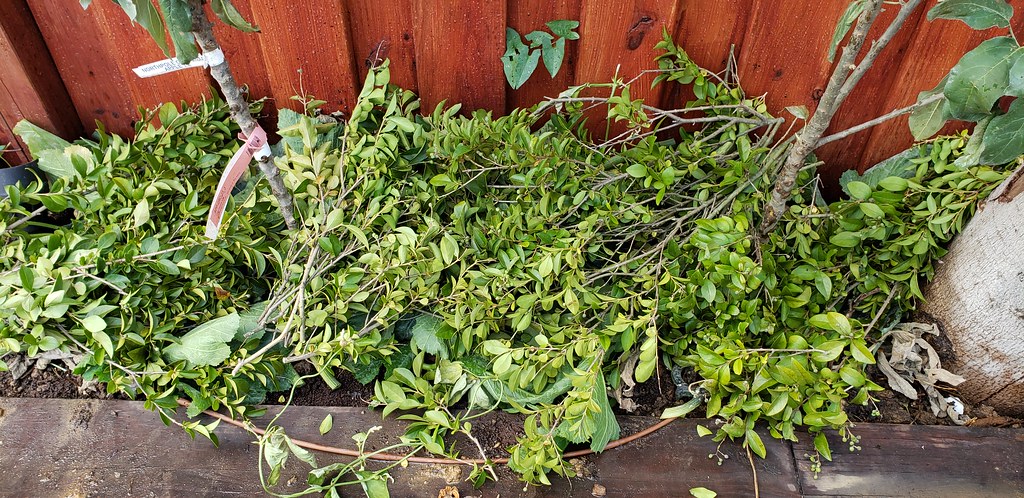 When growing cover crops in my hugelkultur beds.
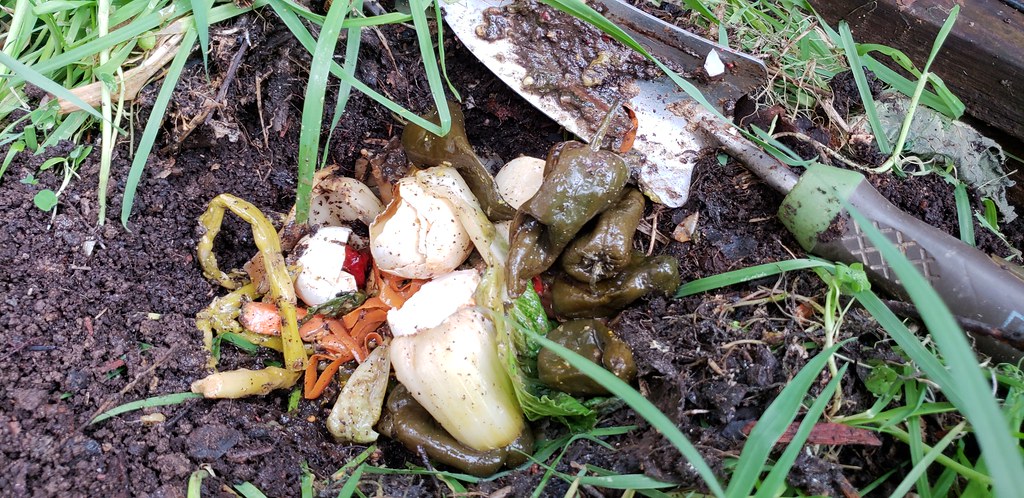

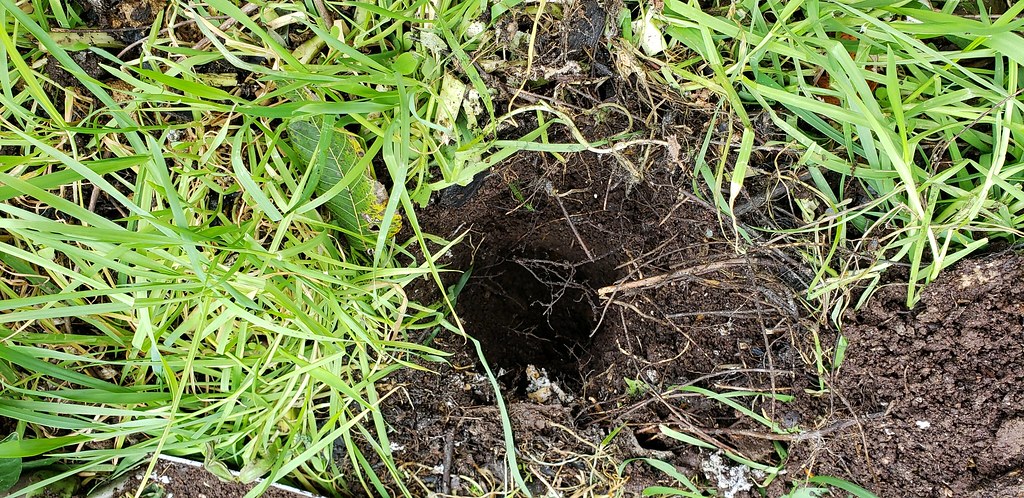 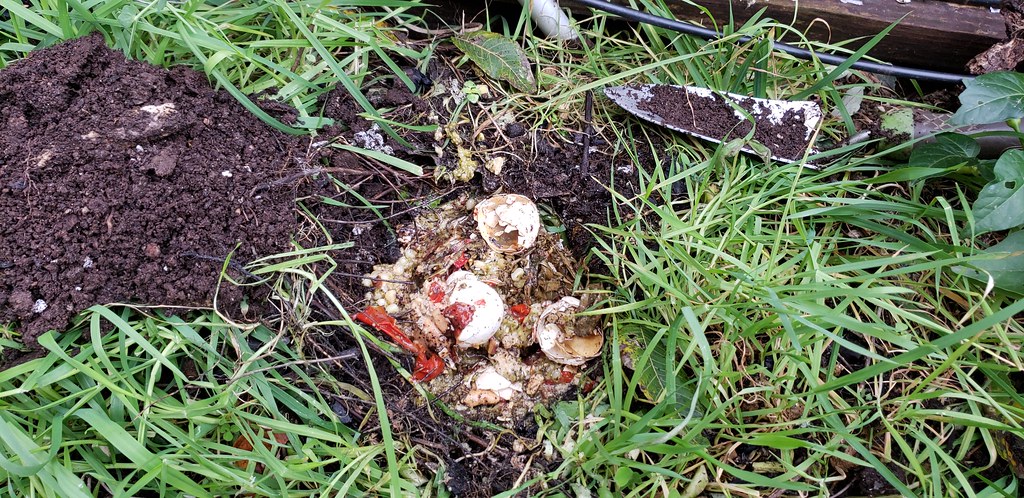 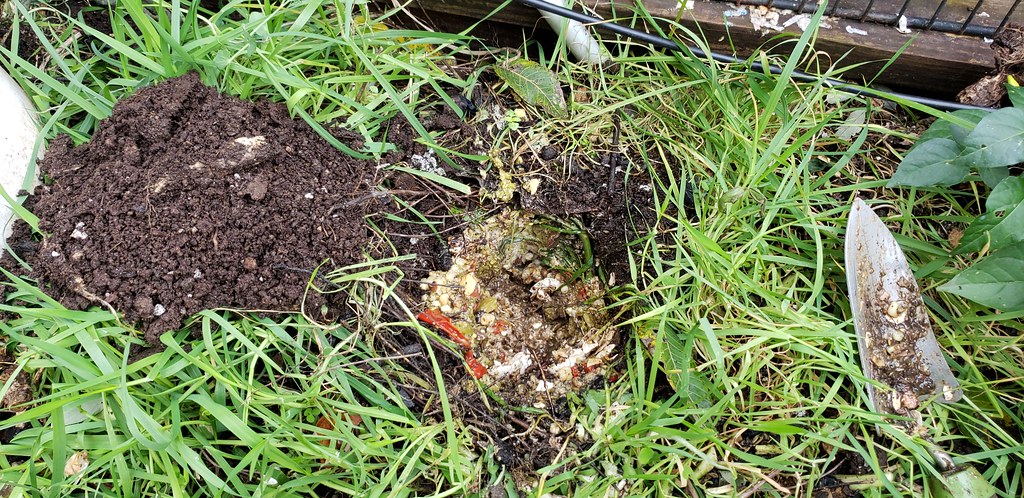 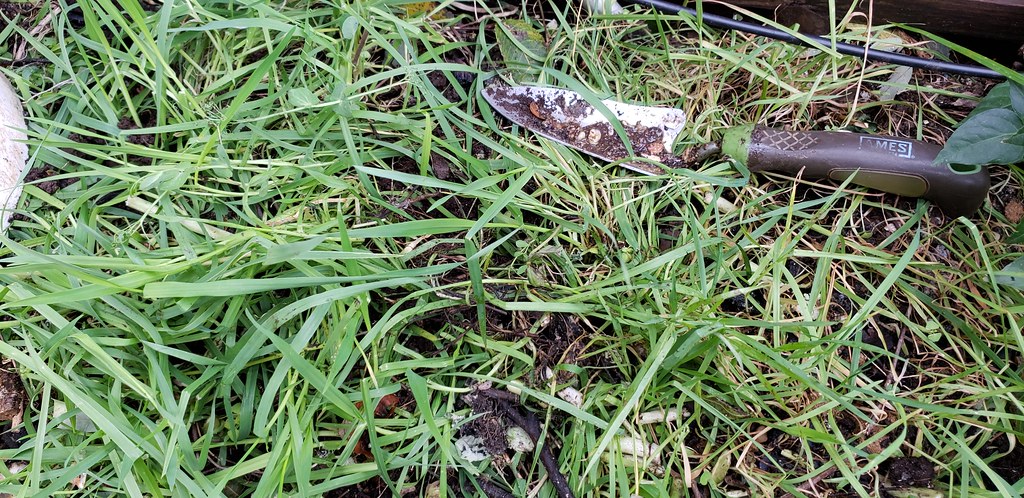 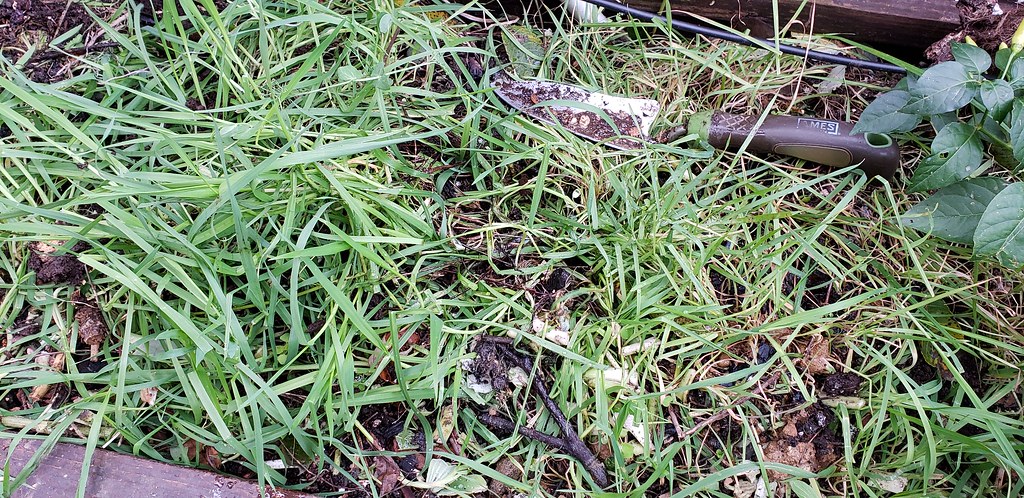
 In situ composting in the winterThe ground has been frozen for a few weeks, so when the weather got up to the high 40's for a few days, I needed to get my compost in before the ground froze again. 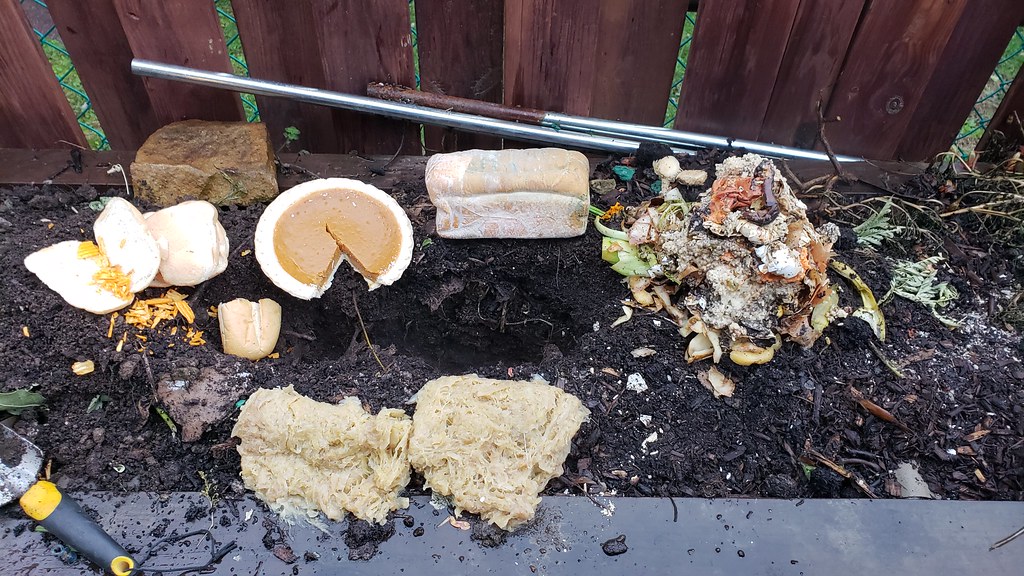 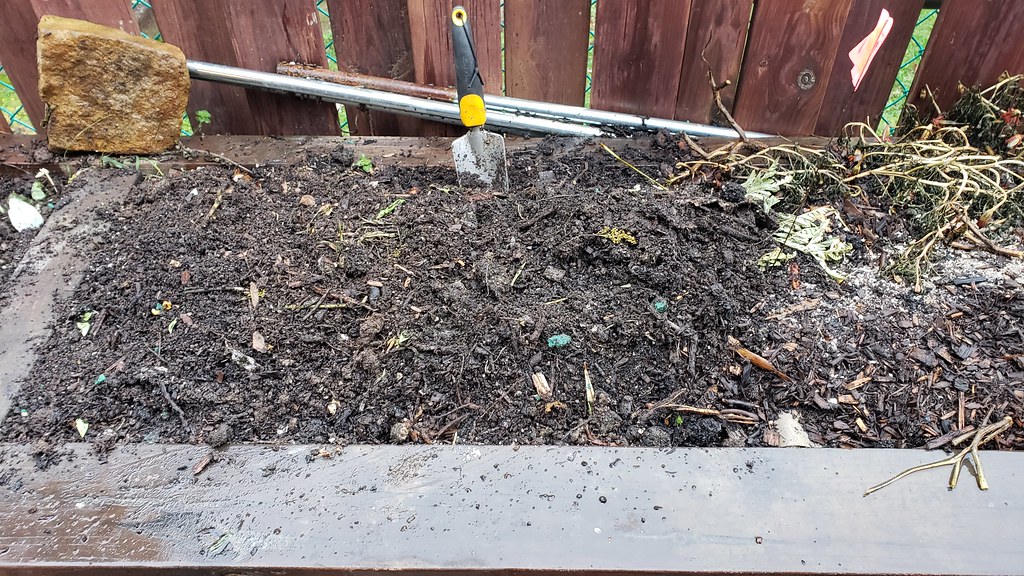 Is it better than bin composting? It doesn't matter! What matters is, there is no wrong way to compost for the obvious reasons that you are using a renewable resource and keeping it out of a landfill, furthermore, this is a great way to compost if a person doesn't have the room for composting Time will tell if this will be my final composting method.My Bin is still on standby and I will see how long I can go without adding to my Bin Disclaimer. All the above under "Composting" is based on my personal experience and no testing in labs have been done. Please note that your results may vary and there are possibilities of problems with wildlife depending on your area, so far my problem has been limited to my dogs and a visit here and there from field mice. I have had less of a problem with wildlife using this method compared to my compost bin. |
|
|
|
|
October 8, 2019
|
#12 |
|
Tomatovillian
Join Date: Jan 2018
Location: Philly 7A
Posts: 739
|
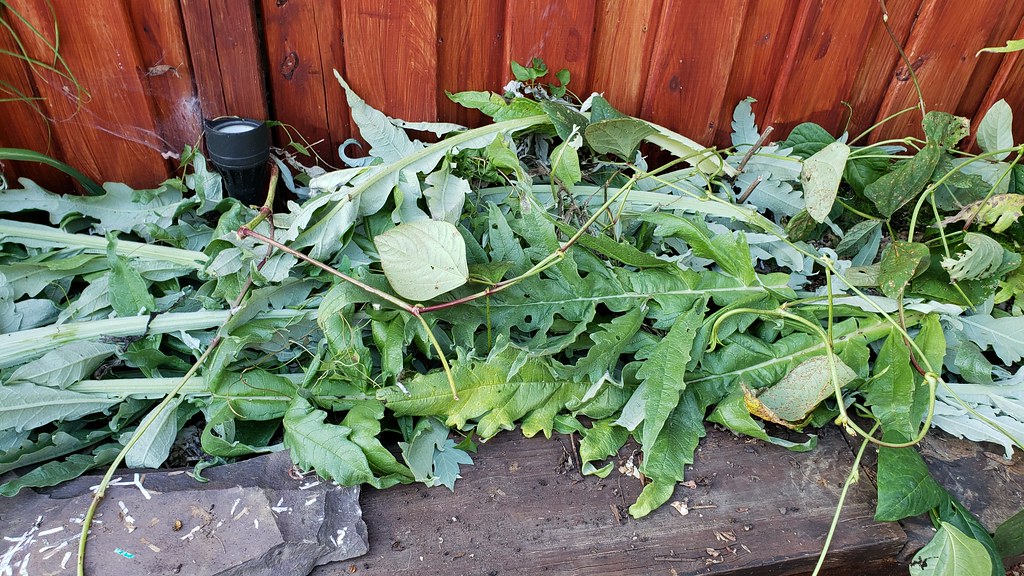
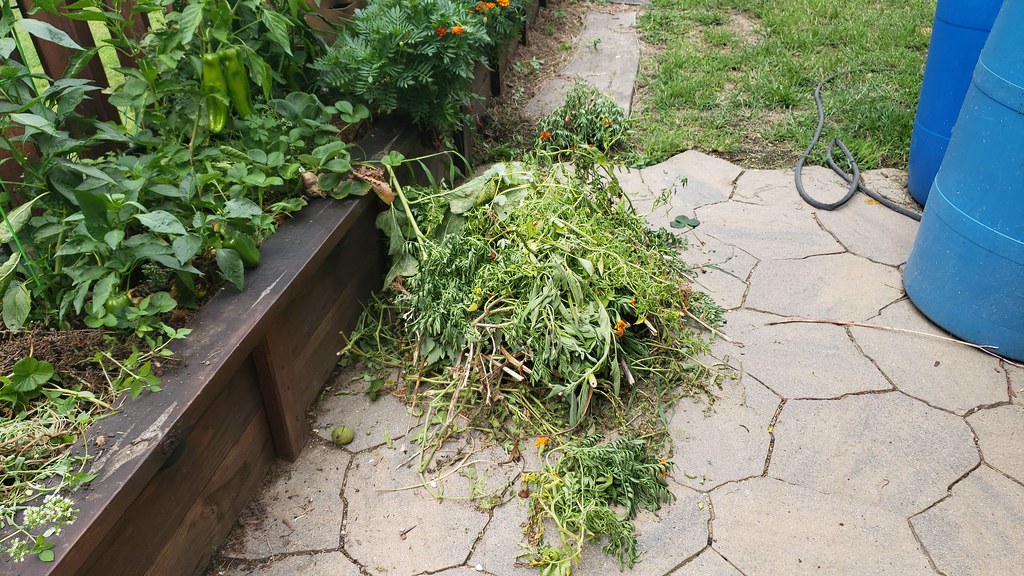
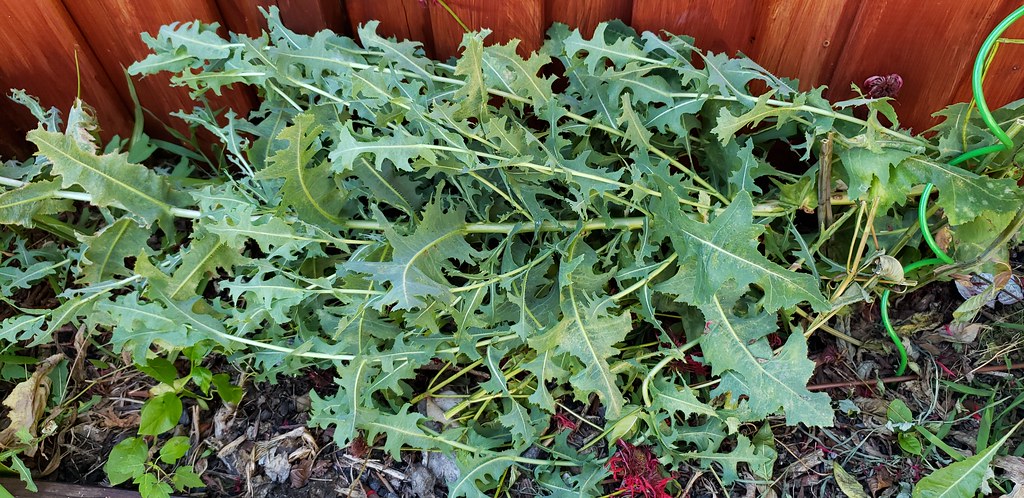
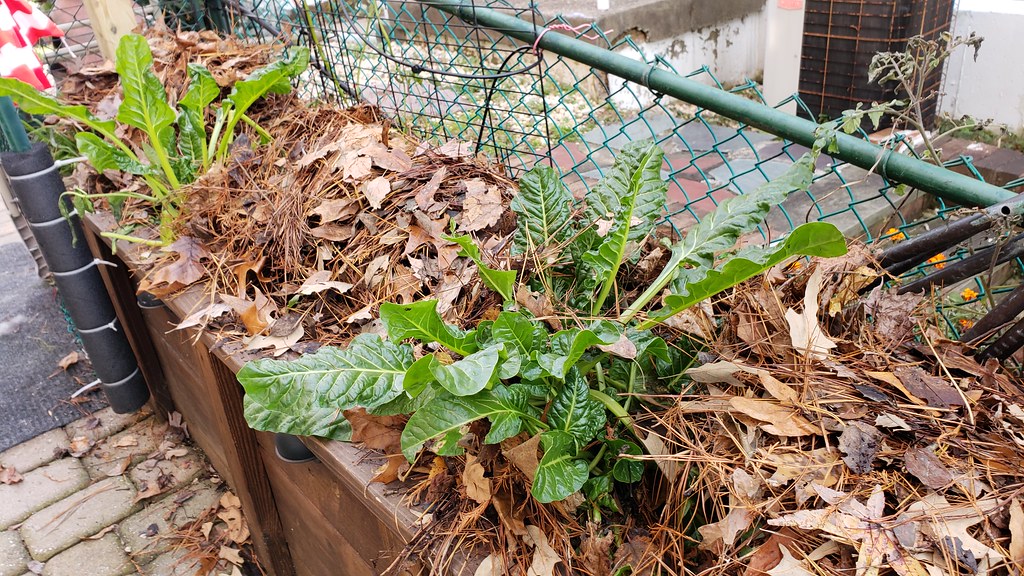
Mulching and Mulch. What do I use for mulch? Everything! (I'll add more pics when they become available)
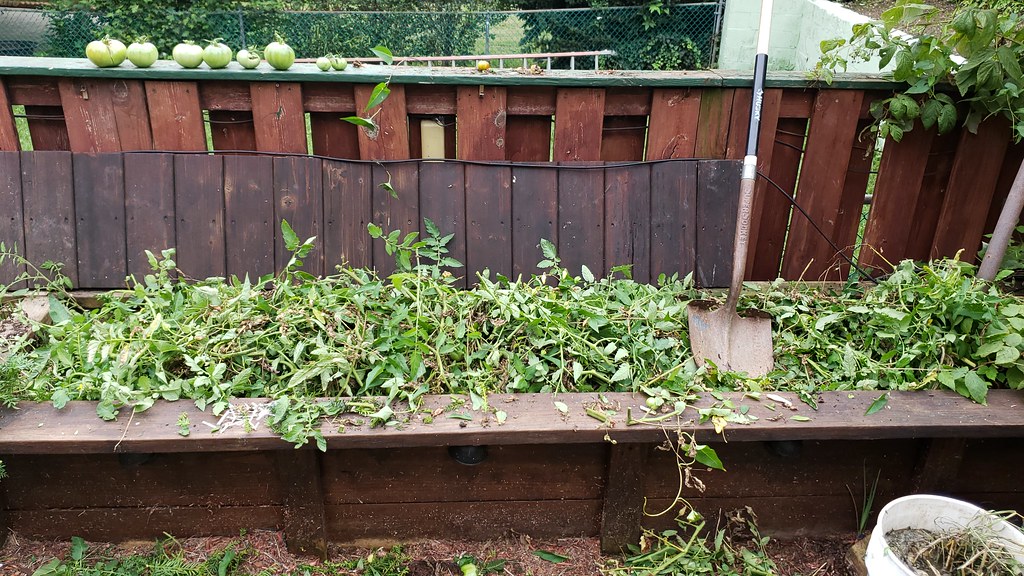
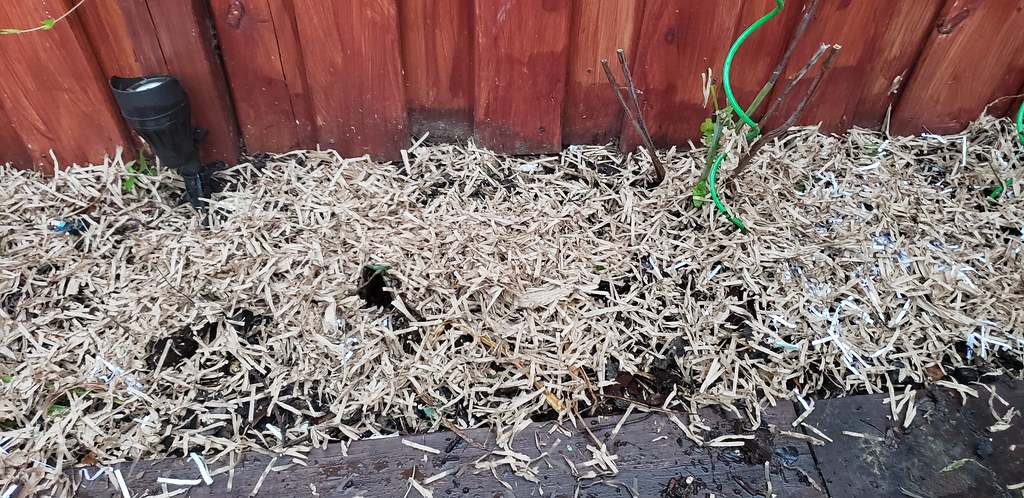 Chop and Drop


 |
|
|
|
|
October 8, 2019
|
#13 |
|
Tomatovillian
Join Date: Jan 2018
Location: Philly 7A
Posts: 739
|
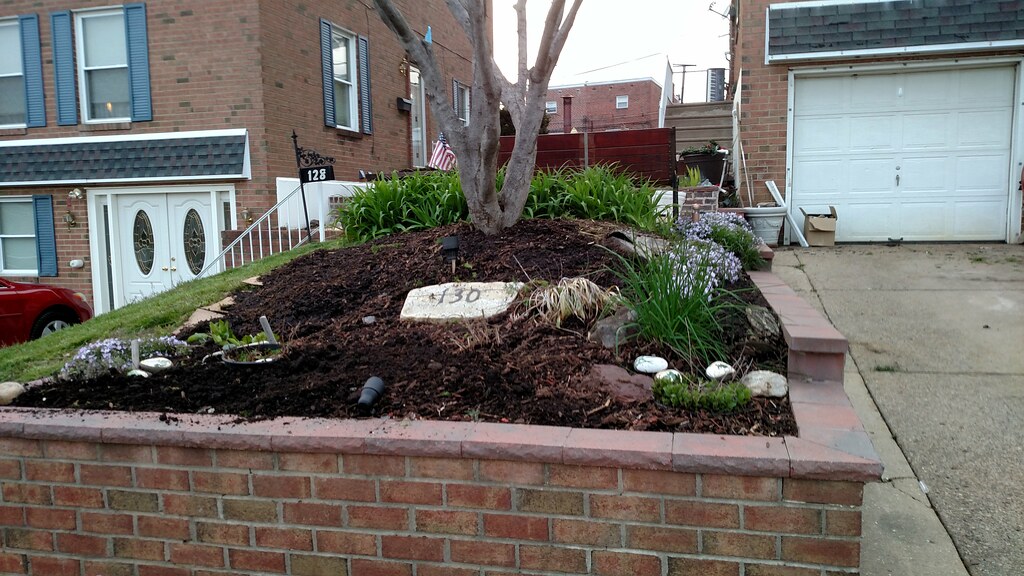
  Any trimmings from the garden or yard are placed back on top of the beds as mulch, even fruits or veggies that are not up to par are tossed on top of the beds, nothing is removed from the gardens. I have found that the simple act of being pickier with the harvest and tossing the under achievers back on the beds has nullified any guilt associated with wasting fruits or veggies, however I do get stingy with my end of season crops. Bio-char along with urea, Rabbit manure, animal bedding and coffee grounds are added whenever they become available. (Also ashes, but I consider ashes a fertilizer) I consider my cover crops a mulch as well.
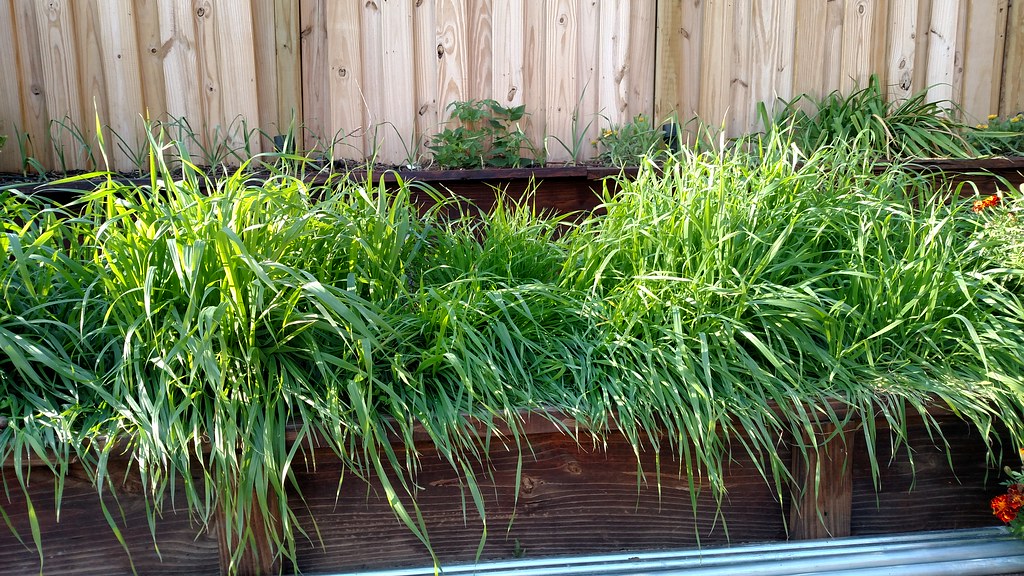
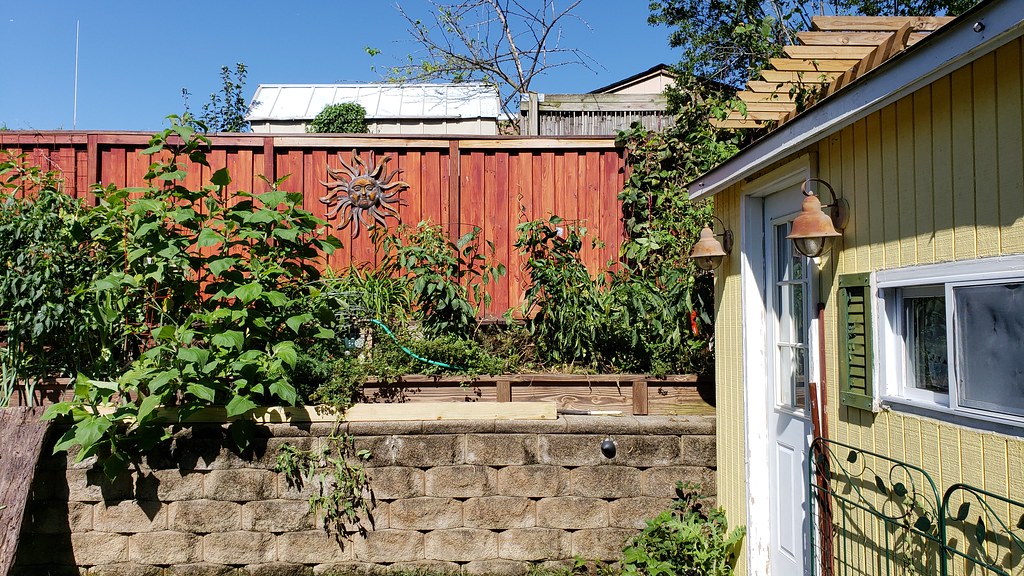
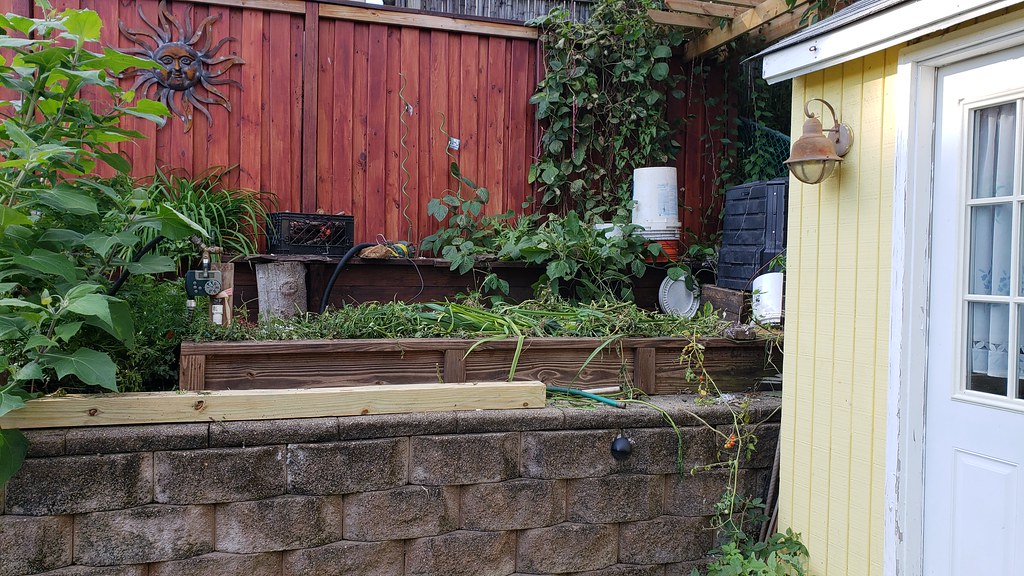
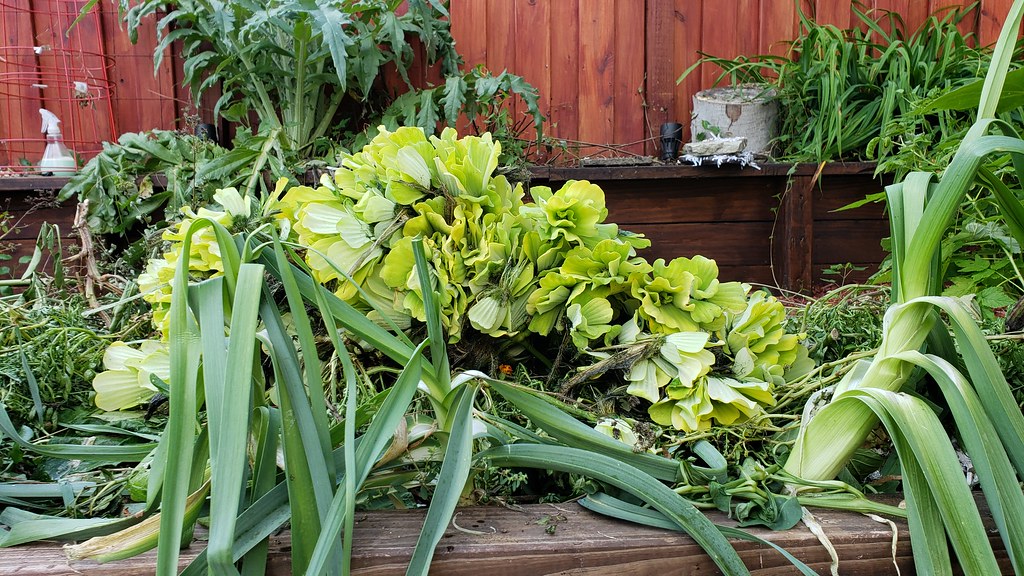 
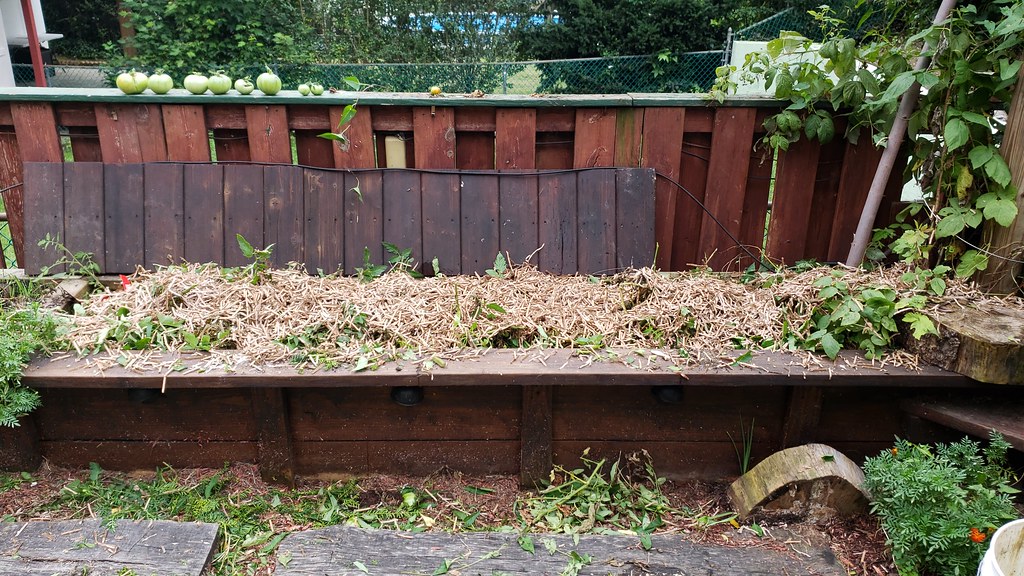  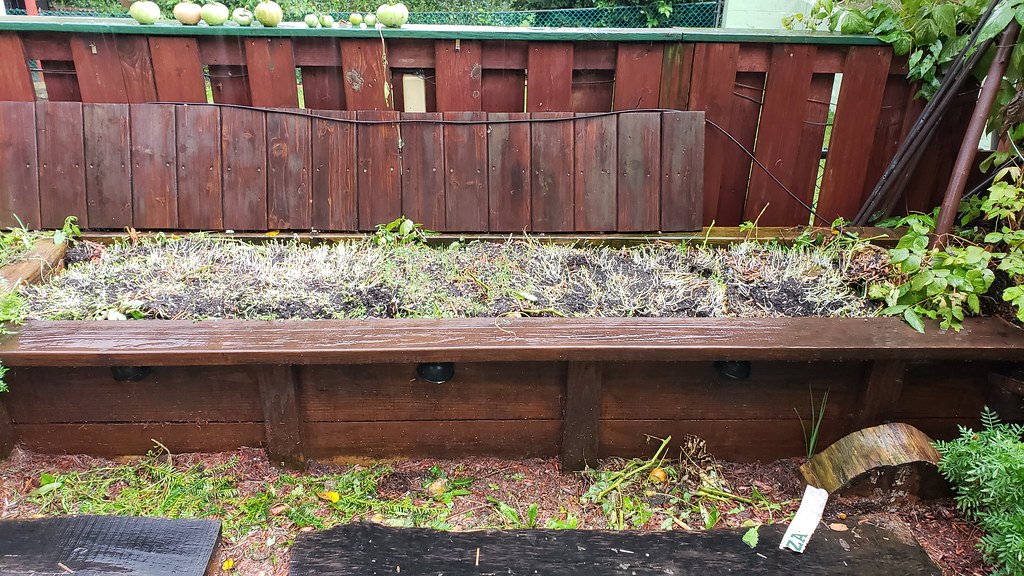
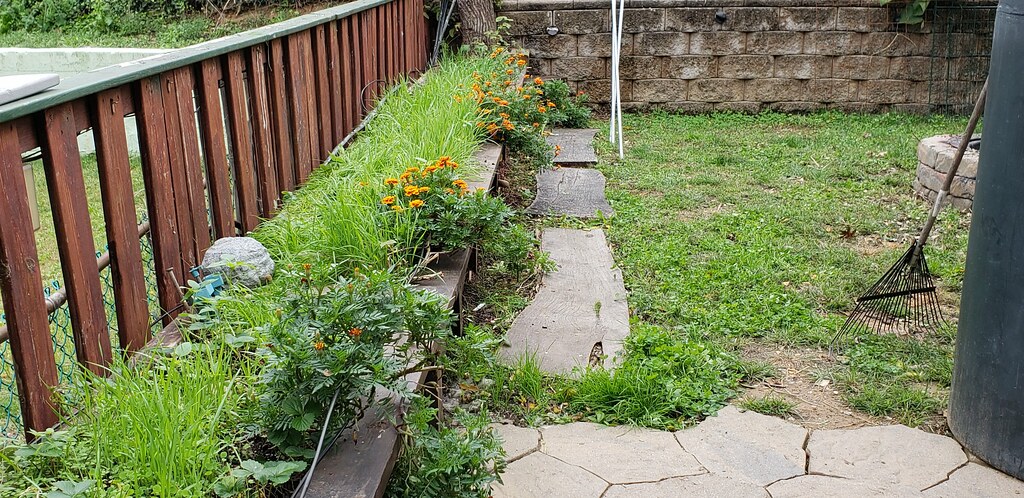
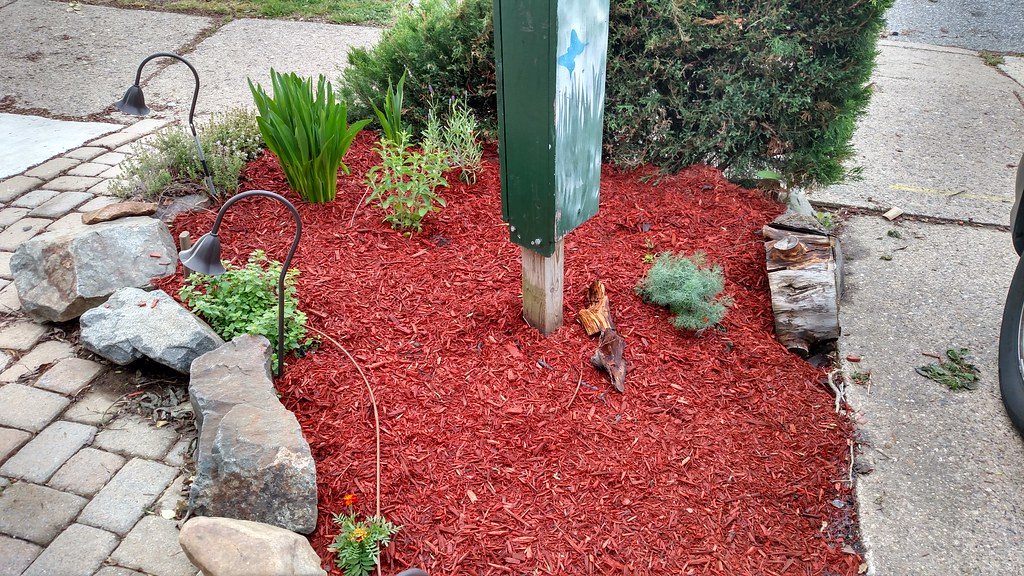
 When do I mulch? I never stop mulching. Disclaimer. All the above under "Mulching and Mulch" is based on personal opinion and your results may differ. |
|
|
|
|
October 9, 2019
|
#14 |
|
Tomatovillian
Join Date: Dec 2010
Location: Pewaukee, Wisconsin
Posts: 3,146
|
Well SQUIBB I am certainly impressed. You surely won't have any cracking in your soil. Well done.

__________________
~ Patti ~ |
|
|
|
|
October 9, 2019
|
#15 |
|
Tomatovillian
Join Date: Dec 2016
Location: Pittsburgh, PA
Posts: 3,194
|
 OK, you're officially my hero, Squibb OK, you're officially my hero, Squibb
|
|
|
|
|
|
|


 View Public Profile
 Find More Posts by tryno12
 Linear Mode

